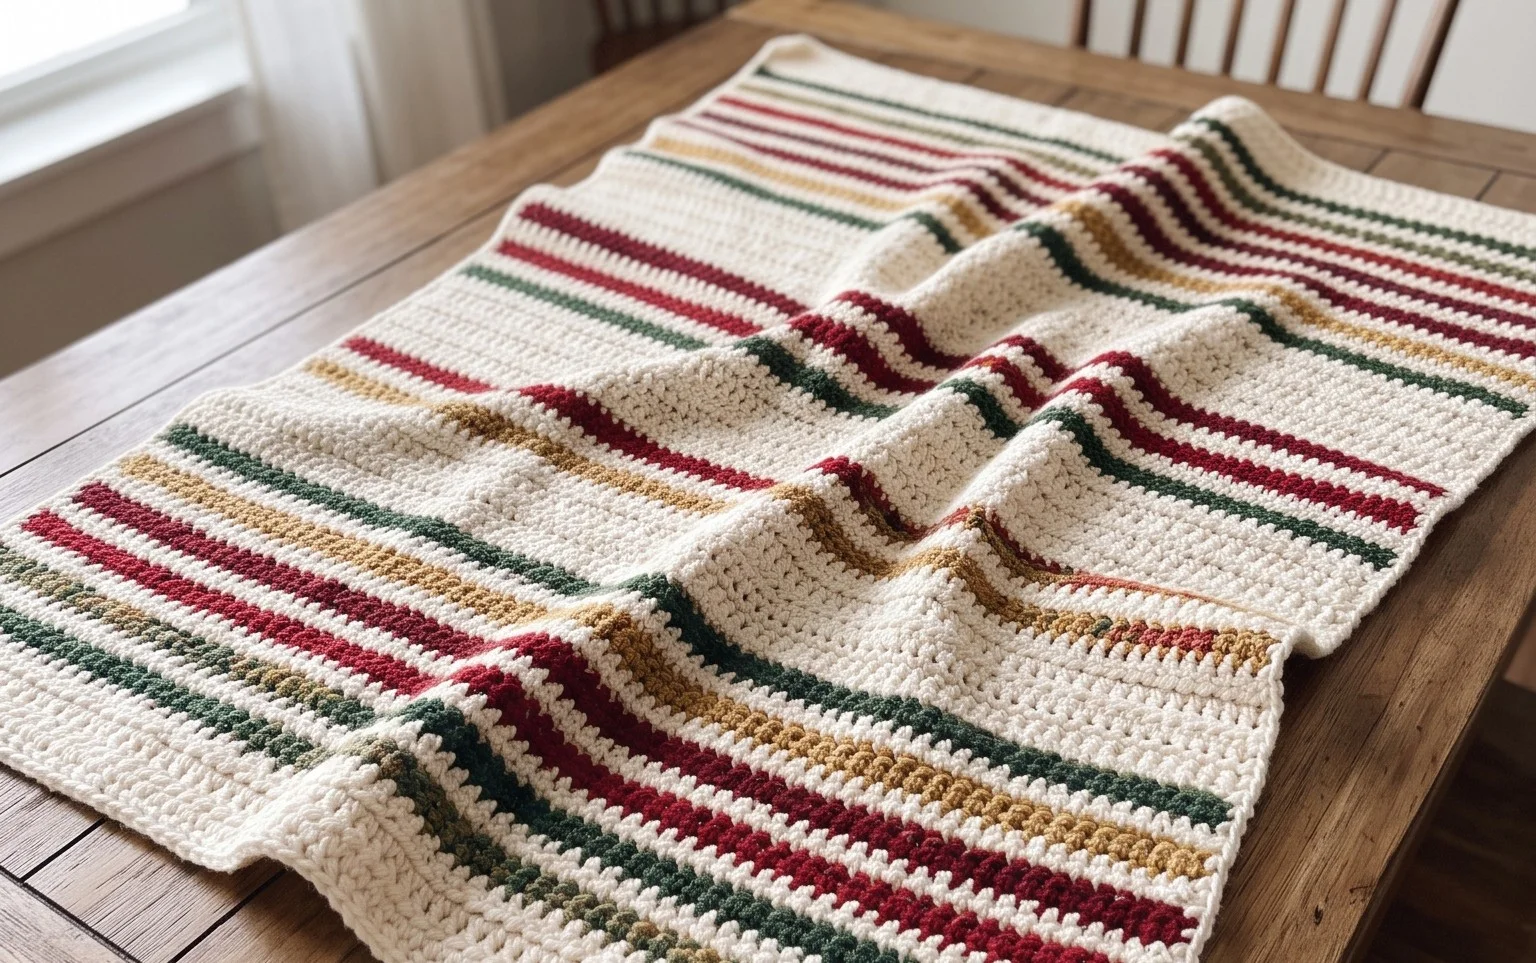
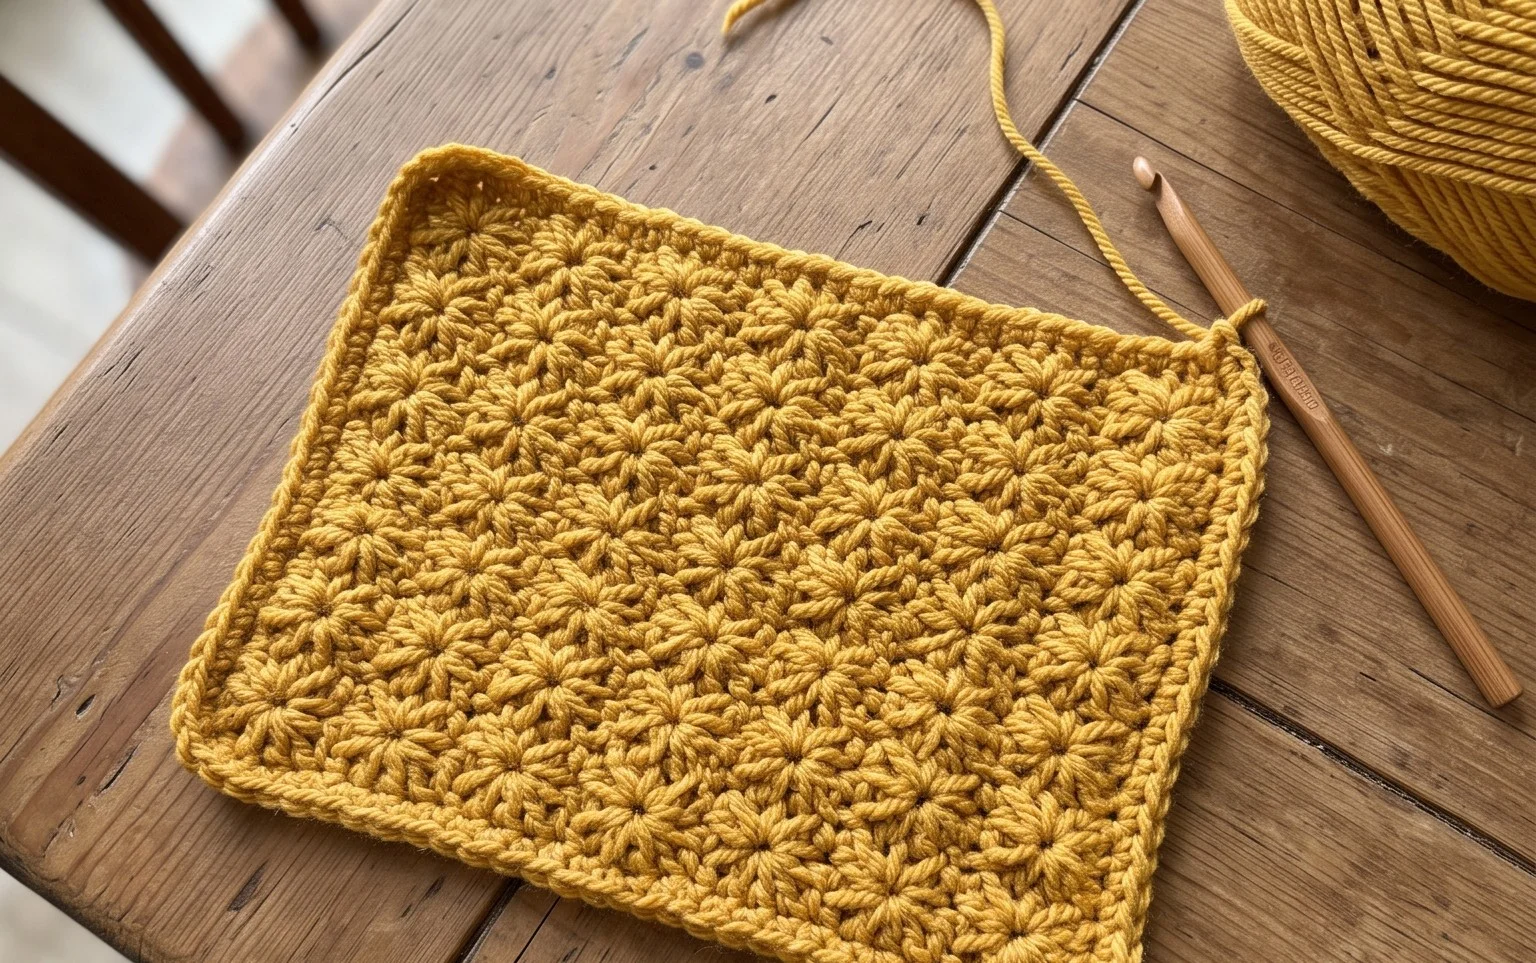
Easy Crochet Wave Stitch Coasters: Free Pattern Guide
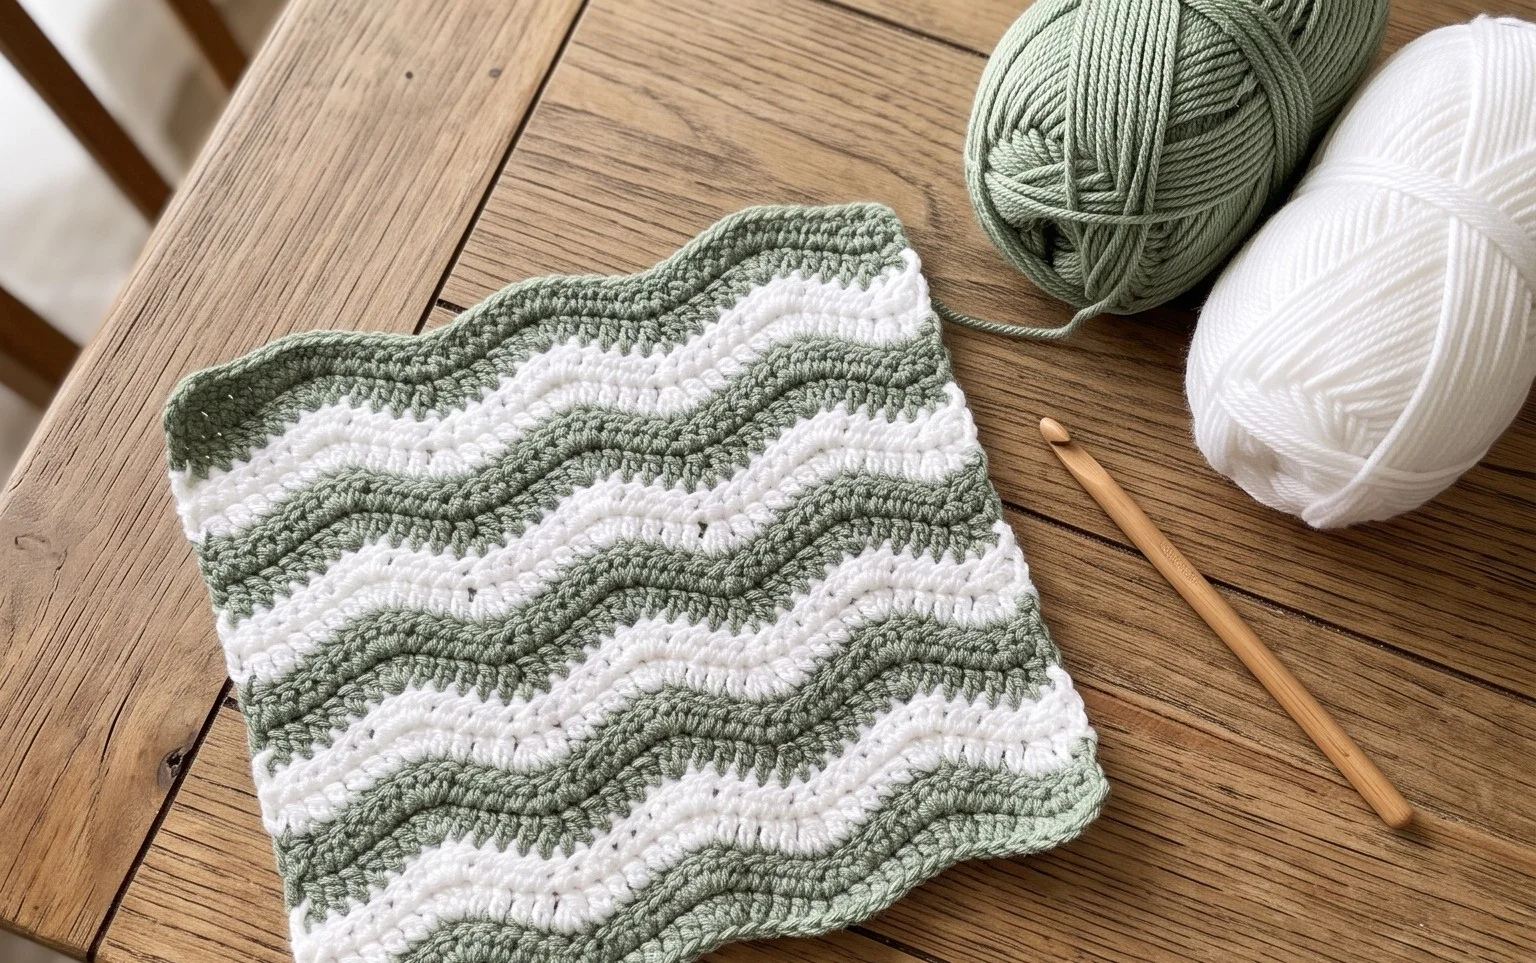
Soft cotton yarn forms gentle, rolling ridges that feel firm and substantial under a cold glass. These textured coasters bring a modern, organic look to any coffee table while protecting wood surfaces from moisture rings. If you enjoy repetitive, calming loops that grow quickly, this rhythmic wave stitch is a rewarding choice for your next session. Beginners will find the foundation rows simple to master, as the design relies on basic height variations to create depth. You can finish a complete set during a single afternoon of low-key relaxing at home, crafting something beautiful and genuinely useful.
Why Crocheters Love It
This beginner-friendly project creates a structured, round coaster set that protects surfaces from condensation while offering a clean, modern aesthetic. The dense fabric is achieved through tight single crochet stitches worked in the round, ensuring a sturdy base that does not curl or warp over time. Because this pattern requires minimal yarn, it is an ideal choice for using up small balls of leftover cotton from previous makes. The rhythmic nature of the circular increase rounds makes it a portable, relaxing project for long commutes or quiet evenings at home.
I managed to whip up a full set of four for my coffee table in a single afternoon. The instructions are very clear, especially the note on invisible joining, which makes the coasters look professional and uniform.
— Sarah, home crafter
Pattern Overview & Skill Level
- Skill Level: Beginner
- Approximate Time: 30 minutes per coaster
- Construction: Continuous rounds with an invisible slip stitch join to finish
- Finished Dimensions & Sizing: 4 inches (10 cm) in diameter
Materials & Supplies Needed
- Yarn: Worsted weight #4, 100% cotton, approximately 15 yards per coaster. Cotton is essential for heat resistance and absorbency.
- Hook Size: 4.5 mm / US 7. This size creates a tight, dense fabric that prevents liquid from seeping through to the table.
- Notions: Tapestry needle for weaving in ends, a locking stitch marker to keep track of the start of rounds.
- Safe yarn substitutions: You may use an acrylic blend, but be aware that it will be less absorbent and may melt if exposed to extremely hot mugs. Using a lighter weight yarn will result in a smaller coaster; adjust your starting chain or increase rounds accordingly to maintain size.
Stitch Guide & Abbreviations (US Terms)
- ch: Chain
- st/sts: Stitch/stitches
- sc: Single crochet
- inc: Increase (work 2 sc in the same stitch)
- sl st: Slip stitch
- MR: Magic ring (or alternative ch 3 and join to first ch to form a loop)
- Invisible join: A finishing technique where the yarn tail is threaded onto a needle and passed under the loops of the first stitch to mimic a standard stitch.
Step-by-Step Pattern Instructions
Work in continuous rounds unless otherwise noted. Place a stitch marker at the beginning of each round to keep your place.
Rnd 1: Start with a MR and work 6 sc into the ring. Pull the tail tight to close the center hole. (6 sts)
Rnd 2: Work 2 sc in each st around. (12 sts)
Rnd 3: 1 sc, inc repeat 6 times around. (18 sts)
Rnd 4: 1 sc, 1 sc, inc repeat 6 times around. (24 sts)
Rnd 5: 1 sc in the next 3 sts, inc repeat 6 times around. (30 sts)
Rnd 6: 1 sc in the next 4 sts, inc repeat 6 times around. (36 sts)
Rnd 7: 1 sc in the next 5 sts, inc repeat 6 times around. (42 sts)
After completing Rnd 7, do not perform a standard slip stitch. Cut your yarn, leaving a 6-inch tail. Thread the tail onto your tapestry needle and use the invisible join method to finish the round, ensuring the final stitch looks identical to the surrounding stitches. Weave the tail through the back of the work to secure.
Care & Washing Instructions
- Machine wash in cold water on a gentle cycle using a mesh laundry bag to prevent snagging.
- Lay flat on a clean towel to air dry, reshaping the circle with your hands while damp.
- Do not bleach or tumble dry, as high heat may cause the cotton to shrink or lose its structural density.
Pro Tips & Common Mistakes to Avoid
- Consistent tension is key to a flat coaster; if you notice your circle starting to ruffle, you may be crocheting too loosely or increasing too frequently.
- Always move your stitch marker up to the first stitch of the new round immediately after completing it to avoid losing your place.
- Weave your ends in twice: once in one direction and once back the other way to ensure the ends do not pop out after frequent use and washing.
- To adjust the size, simply continue the increase sequence for as many rounds as you like (e.g., 1 sc in next 6 sts, inc for Rnd 8), but remember that increasing the size will require significantly more yarn per unit.
Frequently Asked Questions
Can I use a different weight of yarn for this project?
Yes, but you will need to adjust your hook size to match the yarn recommendation on the label. A lighter yarn will result in a smaller coaster, while a heavier yarn will result in a larger one.
Is this pattern suitable for someone who has never crocheted before?
Absolutely. This pattern relies on basic stitches and simple math, making it an excellent way to practice working in rounds and understanding stitch increases.
How do I keep my coasters from curling at the edges?
Curling usually happens if the tension is too tight or the increase count is incorrect. Ensure you are working exactly two single crochets into the increase stitches. If they still curl, blocking by dampening the finished coaster and pinning it flat until dry will solve the problem.
Can I sell the coasters I make using this pattern?
You are welcome to sell finished items created from this pattern. I only ask that you credit the design back to this tutorial when listing them for sale.
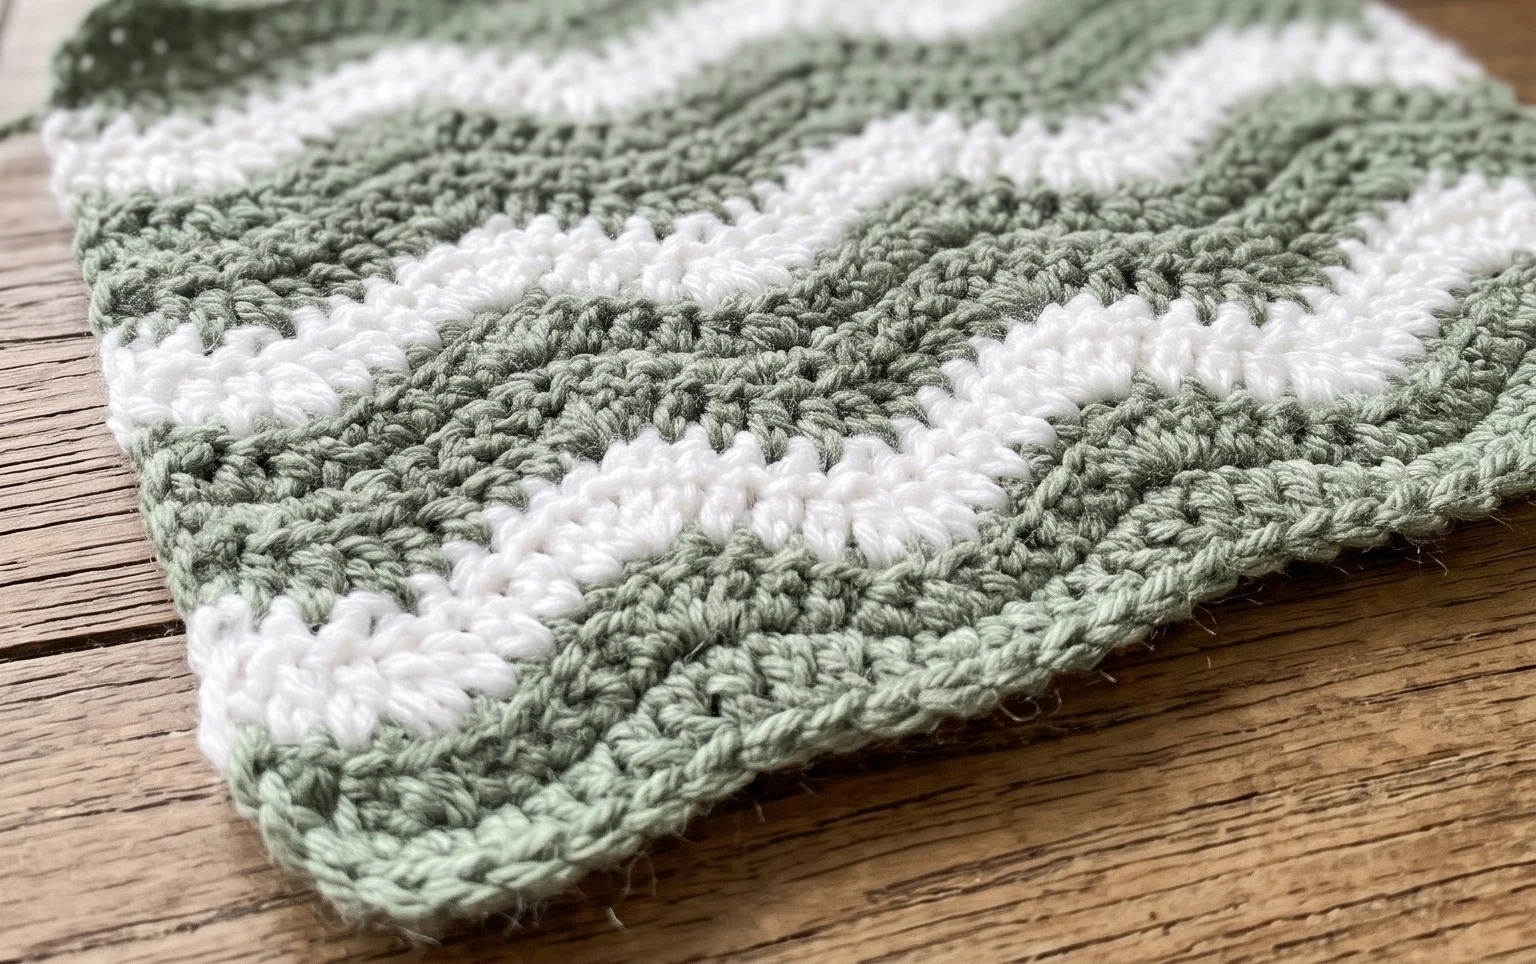
Your finished set of wavy coasters adds a handcrafted touch to your living room and provides a simple way to protect your furniture from spills. You could try working these in a variegated yarn to highlight the rippling surface or make them larger to create a matching set of trivets for hot mugs. Please share a photo of your results on social media to show how your colors turned out. Feel free to browse our archives for more beginner projects you can finish this weekend.