Easy Crochet Tiny Hearts Hat Free Pattern Step-by-Step
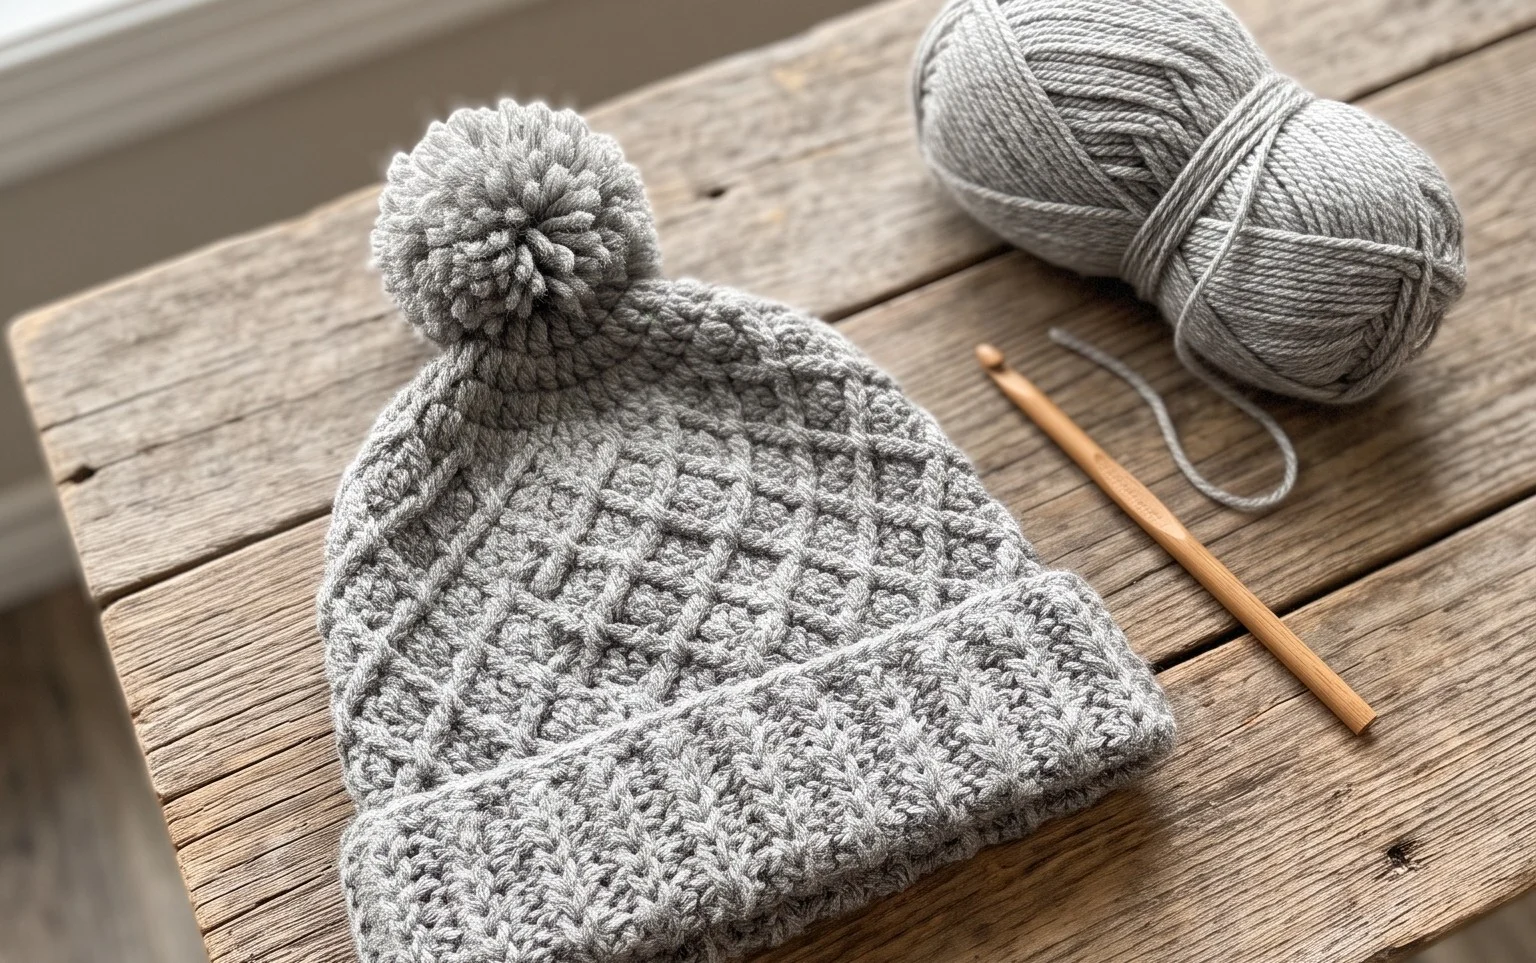
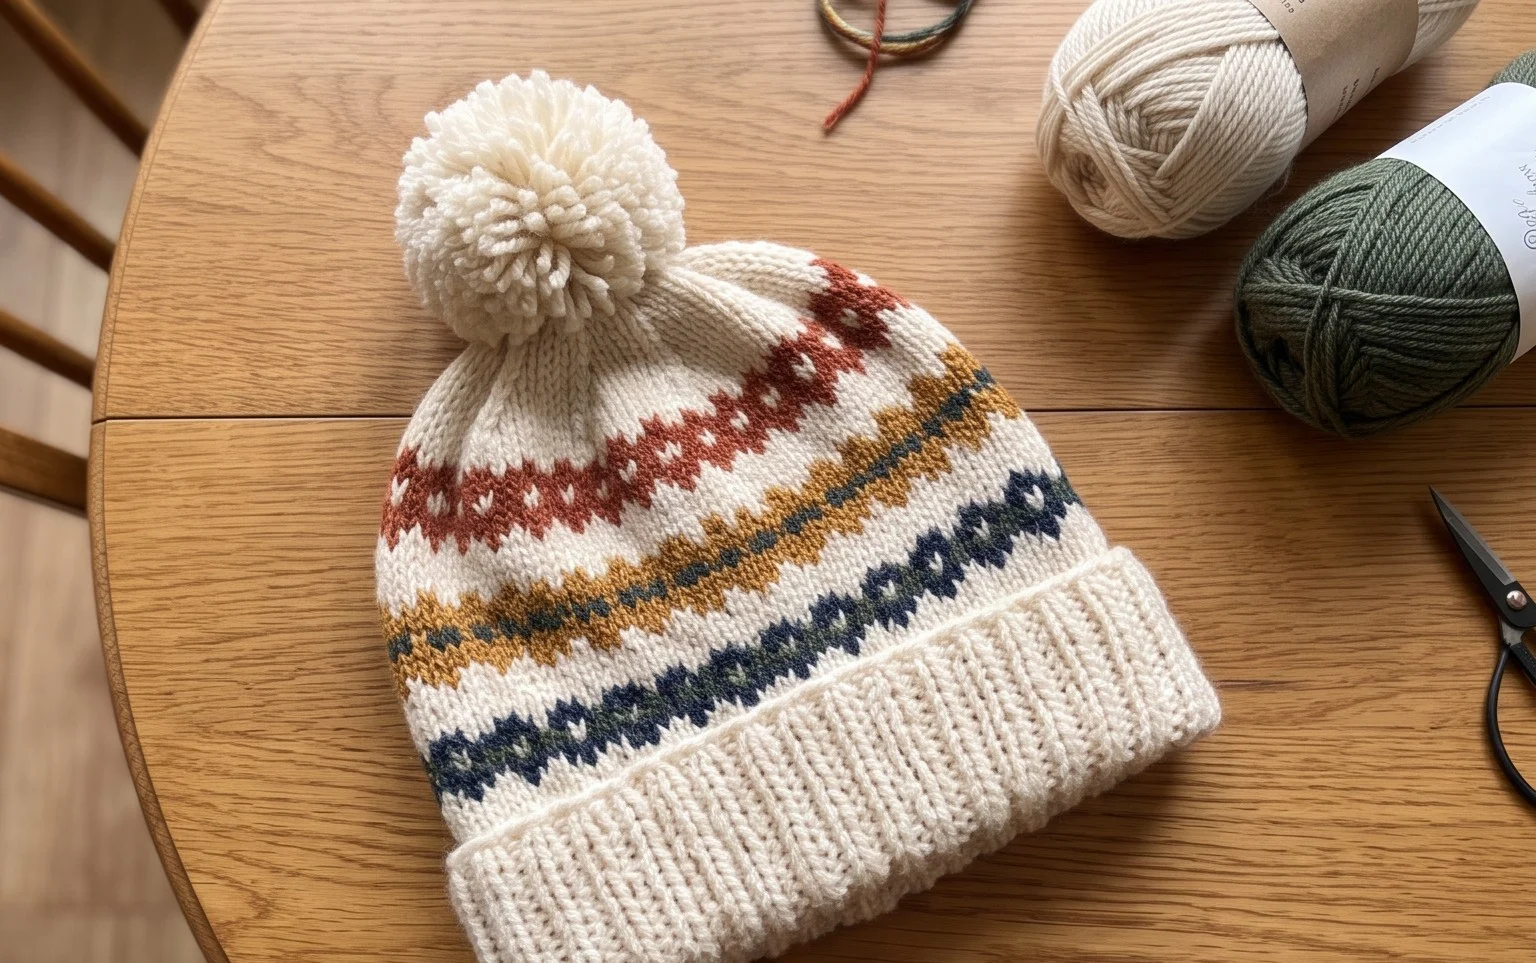
This beanie features a dense, warm fabric that feels soft against the skin, making it a reliable companion for chilly morning walks. The tiny hearts motif provides a classic aesthetic, while the half-double crochet stitch ensures the project remains manageable for someone picking up a hook for the first time. You will appreciate how the repeating pattern builds confidence as you work, resulting in a professional, cozy head covering that fits comfortably without being overly tight. Whether you are crafting a heartfelt gift for a friend or expanding your winter wardrobe, this project delivers consistent, beautiful results with simple supplies.
Why You’ll Love This Pattern
This classic crochet beanie works up quickly using the half-double crochet stitch, which provides a balance of warmth and flexibility. The ribbed texture created by working in the back loop only adds a sophisticated look without requiring complicated cable work. It is an ideal project for using up leftover worsted weight yarn, as you only need one skein to complete an adult-sized hat. Because the construction involves a simple rectangular panel, you can easily customize the fit by adding or subtracting rows to change the circumference.
I finished this hat in one evening while watching a movie. The pattern is very straightforward and the texture looks much more professional than a simple double crochet hat.
— Sarah, hobbyist crafter
Pattern Overview & Skill Level
- Skill Level: Beginner
- Approximate Time: 3 to 4 hours
- Construction: Flat rectangle worked in rows, seamed into a tube, then cinched at the top
- Finished Dimensions: 9 inches tall by 18 inches circumference (unstretched, fits most adult heads)
Materials & Supplies Needed
- Yarn: Worsted weight #4, 100% wool or acrylic blend, approximately 200 yards.
- Hook Size: 5.0 mm (H-8) crochet hook.
- Notions: Tapestry needle for weaving in ends and seaming, stitch markers to track row ends, scissors, and an optional pom-pom maker.
- Safe yarn substitutions: You can use a cotton blend for a summer version, though it will have less stretch than wool or acrylic. If using a lighter weight yarn, you will need to add more foundation chains and rows to maintain the dimensions.
Stitch Guide & Abbreviations (US Terms)
- ch = chain
- hdc = half-double crochet
- st = stitch
- BLO = back loop only (inserting the hook only under the back loop of the stitch instead of both loops to create a ribbed effect)
- sl st = slip stitch
Step-by-Step Pattern Instructions
Main Hat Panel
- Row 1: Ch 41. Hdc in the second ch from hook and in each ch across. Turn. (40 sts)
- Row 2: Ch 1, hdc in the BLO of each st across. Turn. (40 sts)
- Rows 3 to 60: Repeat Row 2 until the piece measures approximately 18 inches when slightly stretched.
Assembly and Finishing
- Fold the rectangle in half so the short ends touch.
- Using your yarn needle and a long tail of yarn, seam the two short ends together using a mattress stitch.
- Once the tube is seamed, do not cut the yarn. Weave the yarn in and out of the stitches along one edge of the tube.
- Pull the yarn tight to cinch the top of the hat closed. Secure the center with several tight stitches.
- Turn the hat right side out and weave in all loose ends. Attach a pom-pom to the top if desired.
Care & Washing Instructions
- Hand wash in cool water using a gentle wool-safe detergent to maintain the elasticity of the stitches.
- Lay the hat flat on a clean towel to air dry, reshaping it while damp to ensure the ribbing stays aligned.
- Avoid wringing or twisting the fabric, as this can distort the shape and stretch out the stitches permanently.
Pro Tips & Common Mistakes to Avoid
Maintain consistent tension throughout the project to ensure the ribbing looks uniform across the entire hat. Use a stitch marker at the beginning of every row to ensure you are not accidentally dropping stitches, which is a common mistake that causes the edges to slant. When weaving in your ends, go back and forth in three different directions to ensure the seam does not pull apart over time. If you wish to adjust the size, add more chains at the start for a longer hat or fewer rows for a smaller head circumference; note that changing the size will increase or decrease the total yardage required.
Frequently Asked Questions
Can I use a chunky weight yarn for this pattern?
Yes, but you will need to reduce the number of starting chains and rows. A chunky yarn will result in a much thicker, warmer hat, so calculate your gauge before starting.
How do I know if the hat will fit correctly?
The hat should measure about 2 inches less than the total circumference of the wearer’s head. The stretch of the hdc stitch will allow it to fit snugly once worn.
Is this pattern suitable for complete beginners?
Absolutely. It relies entirely on the half-double crochet stitch and simple rows, making it the perfect follow-up to learning your first few crochet stitches.
Am I allowed to sell hats made from this pattern?
You are welcome to sell finished items made from this design. Please credit the designer when listing your items online or in person.
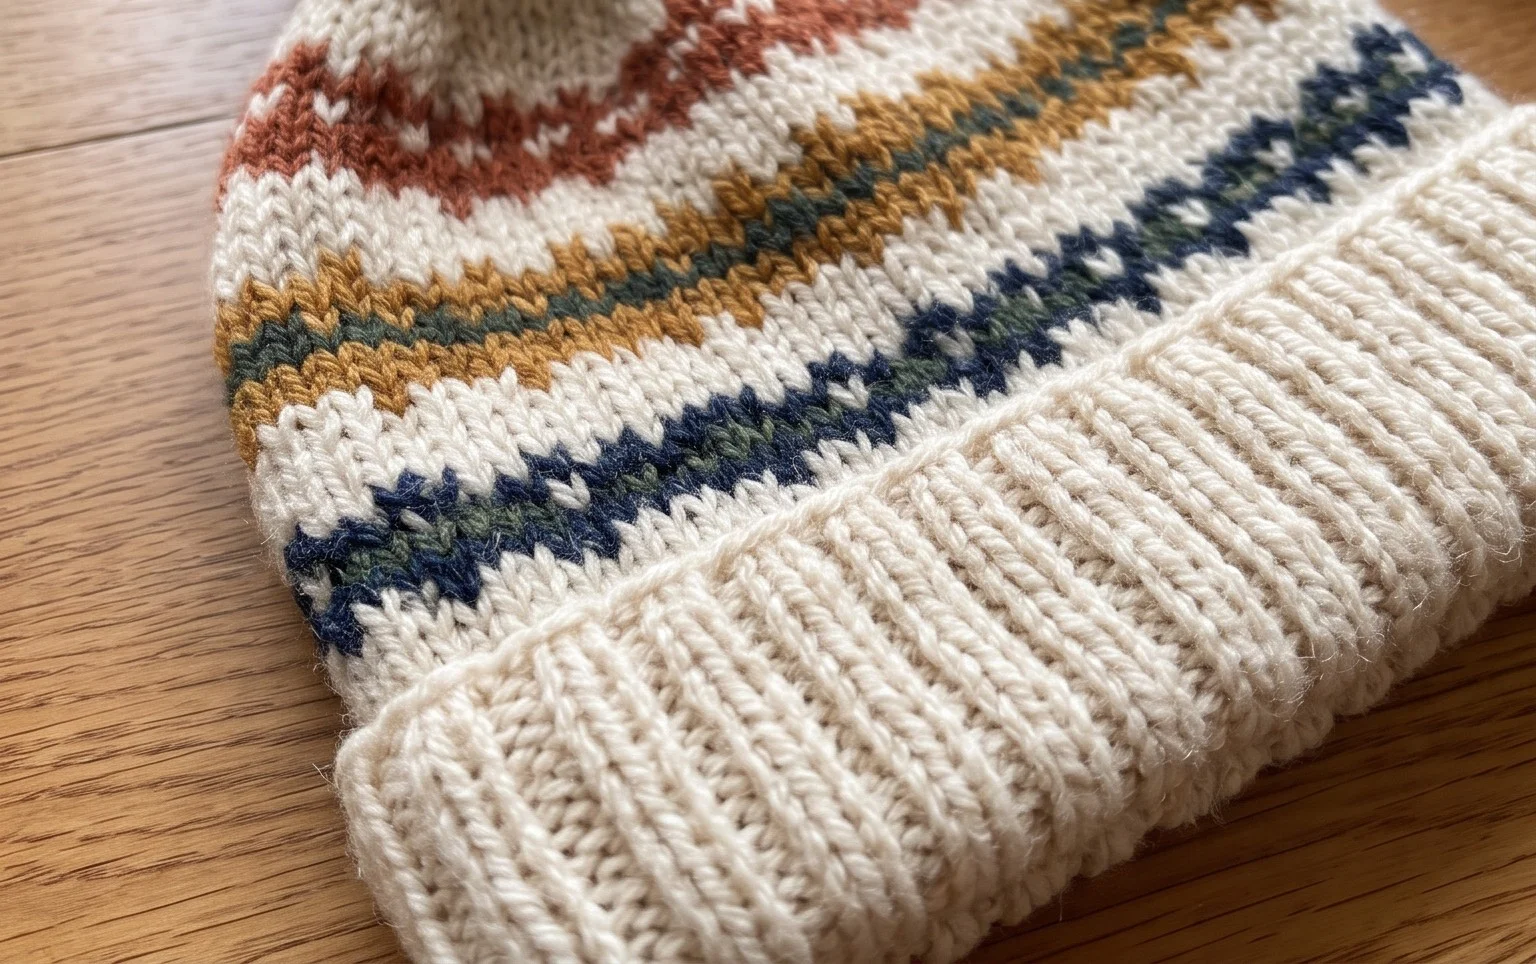
Your finished hat serves as a cozy reminder that simple stitches can create a beautiful accessory for cold weather. If you want to experiment, try using a variegated yarn to make the hearts pop against a solid background or adjust the hook size for a slouchier fit. Please share a photo of your creation on social media so others can see your work, and visit the archives on our blog to find more free patterns for your next quiet afternoon of crafting.