Chunky Basketweave Throw: Free Beginner Crochet Pattern
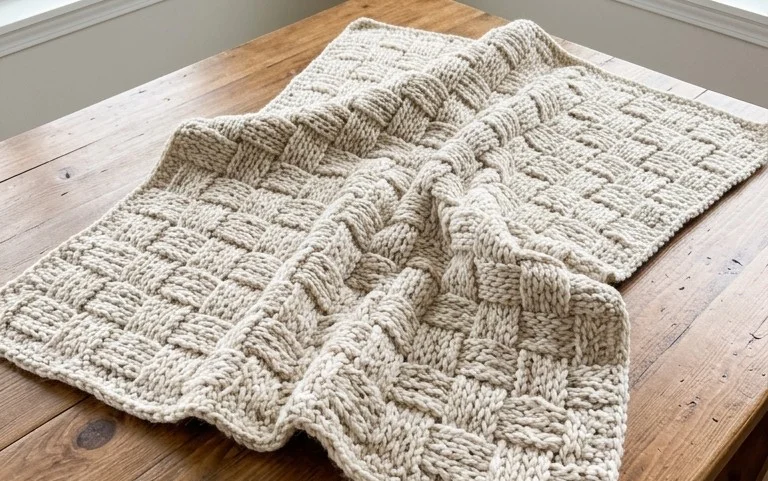
Dense, squishy, and remarkably warm, this heavy blanket mimics the look of woven fabric while providing the cozy weight needed for chilly evenings on the couch. It is a rewarding project for beginners who want to move beyond simple flat squares and learn the rhythm of front and back post stitches. You will handle thick, bulky yarn that builds up quickly, making this a satisfying task for anyone aiming to complete a substantial home decor item in just a few weekends. This guide breaks down the front and back post double crochet techniques necessary to create that distinct, repetitive boxy pattern.
Why You’ll Love This Pattern
This beginner-friendly crochet coaster set uses basic stitches to create a dense, heat-resistant fabric that protects your furniture from beverage condensation. The small size makes these an ideal project for using up partial skeins of cotton yarn sitting in your stash. Because each coaster works up in under thirty minutes, they are a practical choice for last-minute handmade gifts. The simple circular construction teaches the fundamentals of increasing in the round without the complexity of shaping. The final result is a sturdy, professional-looking home accessory that maintains its shape after repeated use.
These coasters were the perfect weekend project to practice my tension, and they look great on my coffee table even after several washes.
— Sarah, hobbyist crocheter
Pattern Overview & Skill Level
- Skill Level: Beginner
- Approximate Time: 25 minutes per coaster
- Construction: Continuous rounds with slip stitch joining
- Finished Dimensions: 4 inches (10 cm) in diameter
Materials & Supplies Needed
- Yarn: Worsted weight (#4) 100% cotton yarn, approximately 15 yards per coaster. Cotton is necessary for heat resistance and moisture absorption.
- Hook Size: 5.0 mm (H-8) crochet hook.
- Notions: Yarn needle for weaving ends, scissors, and a stitch marker to track the first stitch of each round.
- Yarn Substitutions: You can use an acrylic-blend yarn, but note that it will be less effective at absorbing moisture and may melt if placed under very hot mugs. Cotton remains the industry standard for home textiles.
Stitch Guide & Abbreviations (US Terms)
- ch: chain
- st(s): stitch(es)
- sl st: slip stitch
- sc: single crochet
- inc: two single crochet stitches in the same stitch (increase)
- MR: magic ring (or ch 3 and sl st to first ch to form a loop)
Step-by-Step Pattern Instructions
Work in continuous rounds unless otherwise noted. Use a stitch marker to keep track of the first stitch of every round.
Coaster Body
- Rnd 1: Start with a MR, work 6 sc into the ring. (6 sts)
- Rnd 2: Work 2 sc in each sc around. (12 sts)
- Rnd 3: *1 sc in next st, inc in next st; repeat from * around. (18 sts)
- Rnd 4: *1 sc in next 2 sts, inc in next st; repeat from * around. (24 sts)
- Rnd 5: *1 sc in next 3 sts, inc in next st; repeat from * around. (30 sts)
- Rnd 6: *1 sc in next 4 sts, inc in next st; repeat from * around. (36 sts)
Finishing
After completing Rnd 6, do not chain. Make one sl st into the next stitch to smooth out the edge of the circle. Fasten off your yarn, leaving a 4-inch tail. Use your tapestry needle to weave the yarn tail through the back loops of the final round to secure it firmly. Trim any excess yarn close to the fabric, being careful not to cut your crochet stitches.
Care & Washing Instructions
- Machine wash your coasters in warm water on a gentle cycle to prevent fraying.
- Lay the coasters flat on a towel to air dry, ensuring they are reshaped into a perfect circle while damp.
- Do not bleach or iron the coasters, as this can damage the cotton fibers and affect their absorbency.
Pro Tips & Common Mistakes to Avoid
Keep your tension consistent by holding your yarn with a steady grip, as loose tension will result in gaps where condensation can seep through to your furniture. Always place a stitch marker in the first stitch of every round to avoid losing count during the increases. Weave your ends in by threading the needle through the stitches in three different directions; this prevents the ends from popping out after washing. If you want to make larger coasters for oversized mugs, simply continue adding rounds by increasing the number of single stitches between each increase group by one each time.
Frequently Asked Questions
Can I use a larger hook for this pattern?
Using a larger hook will result in a looser weave and a larger coaster. Stick to a 5.0 mm hook for a dense fabric that offers the best protection for your surfaces.
Is this pattern suitable for complete beginners?
Yes, this is an ideal first project. It covers the basics of magic rings, increasing, and finishing, which are the building blocks for more advanced amigurumi projects.
How do I adjust the size of the coasters?
To make the coaster larger, continue working additional rounds following the increase pattern. For example, Rnd 7 would be *1 sc in next 5 sts, inc in next st; repeat from * around.
May I sell the coasters I make from this pattern?
You are welcome to sell finished items created from this pattern. I ask that you provide credit to the designer whenever possible.
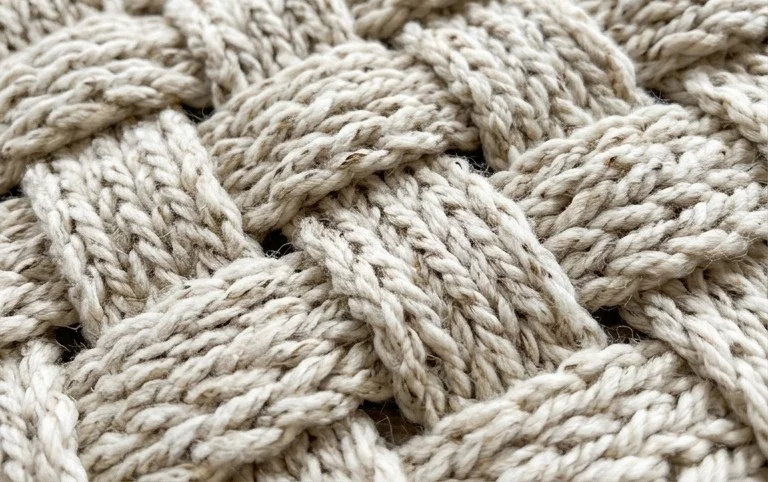
Your finished heavy blanket adds a layer of texture to any living room chair or bed frame. You can experiment with a two-toned version by switching yarn colors every ten rows for a more modern look, or use a variegated wool blend to bring out the depth of the weave. Sharing your progress on social media helps other makers see how the tension changes the drape of the fabric. Find more free home decor patterns in our project archive for your next afternoon hobby session.