Star Stitch Crochet Beanie: Beginner Free Pattern
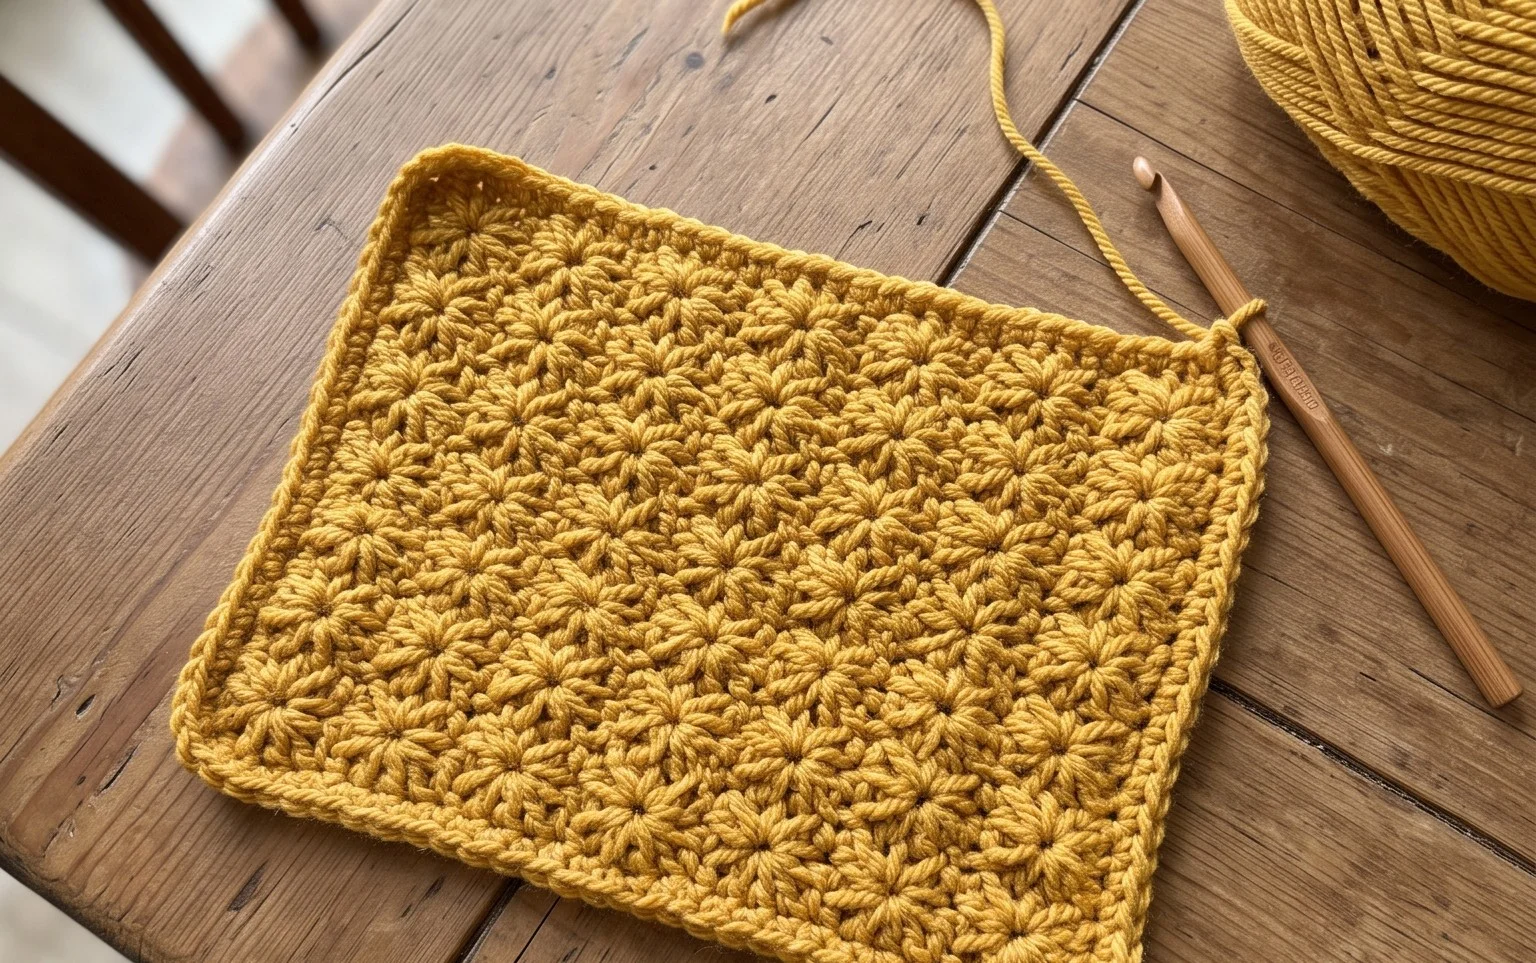
The star stitch creates a dense, celestial texture that transforms simple yarn into a thick and warm fabric. This decorative motif feels remarkably cozy against the skin, making it a great choice for winter accessories that keep the chill away. Beginners often find this technique intimidating, but it relies on simple pulls through loops that feel rhythmic once you get the hang of the spacing. You will find that mastering this stitch adds a professional flair to your handmade hats and scarves. By the end of this guide, you will understand how to anchor your loops to create those distinct pointed clusters.
Why You’ll Love This Pattern
This classic crochet beanie works up quickly using basic stitches, making it an ideal project for building confidence with shaped garments. The rhythmic nature of the double crochet stitch creates a soft, pliable fabric that stretches comfortably to fit most adult head sizes. Because it uses a medium-weight yarn, you can complete this entire piece in a single evening, which is perfect for last-minute gifts. The construction starts at the crown and works downward, allowing you to try the hat on as you go to ensure a custom fit for your head shape.
I finished this hat in one sitting while watching a movie. The instructions were very easy to follow and the sizing was spot on for my head.
— Sarah, hobbyist crocheter
Pattern Overview & Skill Level
- Skill Level: Beginner
- Approximate Time: 2 to 3 hours
- Construction: Worked in joined rounds from the crown downward
- Finished Dimensions & Sizing: Fits average adult head (20-22 inches circumference); 9 inches height
Materials & Supplies Needed
- Yarn: Worsted weight (#4), 100% acrylic or wool blend, approximately 200 yards
- Hook Size: 5.5 mm (US I-9)
- Notions: Tapestry needle for weaving ends, stitch marker to denote round starts, measuring tape
- Safe yarn substitutions: You can use any worsted weight yarn. Cotton blends will result in a heavier, less stretchy hat, while pure wool will provide more warmth and better stitch definition.
Stitch Guide & Abbreviations (US Terms)
- ch = chain
- dc = double crochet
- sl st = slip stitch
- st/sts = stitch/stitches
- dc2tog = double crochet two stitches together (a decrease used to shape the crown if necessary, though not used in this specific pattern)
- MR = magic ring (a method of starting in a circle)
- Join = slip stitch into the top of the first stitch of the round
Step-by-Step Pattern Instructions
Crown and Body
The hat is worked in continuous rounds, joining at the end of each round to maintain a clean seam.
- Rnd 1: Create a MR, ch 3 (counts as first dc throughout), work 11 dc into ring, join with sl st to top of beg ch-3. (12 sts)
- Rnd 2: Ch 3, 1 dc in same st as join, 2 dc in each st around, join to top of beg ch-3. (24 sts)
- Rnd 3: Ch 3, 2 dc in next st, *1 dc in next st, 2 dc in next st; repeat from * around, join to top of beg ch-3. (36 sts)
- Rnd 4: Ch 3, 1 dc in next st, 2 dc in next st, *1 dc in next 2 sts, 2 dc in next st; repeat from * around, join to top of beg ch-3. (48 sts)
- Rnd 5: Ch 3, 1 dc in next 2 sts, 2 dc in next st, *1 dc in next 3 sts, 2 dc in next st; repeat from * around, join to top of beg ch-3. (60 sts)
- Rnd 6 – 15: Ch 3, 1 dc in each st around, join to top of beg ch-3. (60 sts)
Finishing
After completing Round 15, fasten off your yarn, leaving a 6-inch tail. Pull the tail through the final loop to secure it. Thread the tail onto your tapestry needle and weave it through the interior stitches of the final round to hide the end. Ensure the tail is woven securely back and forth to prevent it from coming undone with frequent wear.
Care & Washing Instructions
- Hand wash in cool water using a mild wool-safe detergent to maintain the integrity of the fibers.
- Lay the hat flat on a clean towel to air dry, reshaping it gently while damp to ensure it retains its circular form.
- Do not wring or twist the hat, as this can cause the yarn to lose its elasticity and distort the finished dimensions.
Pro Tips & Common Mistakes to Avoid
- Maintain consistent tension throughout the project; if your stitches feel too tight, move up one hook size to ensure the hat remains soft and stretchy.
- Always place a stitch marker in the first stitch of every round; this helps you keep track of your count and prevents you from accidentally adding or skipping stitches.
- Weave your ends in by catching the back loops of the stitches on the inside of the hat to ensure the finish looks professional and invisible from the outside.
- To adjust the size, simply increase or decrease the number of stitches in your final expansion round (Round 5), but remember that changing the stitch count will require more or less yarn than the 200 yards specified.
Frequently Asked Questions
Can I use a bulky weight yarn for this pattern?
Using a bulky weight yarn will result in a significantly larger hat. You would need to reduce the number of increase rounds to keep the sizing appropriate for an adult head.
Is it possible to sell items made from this pattern?
You are welcome to sell finished items created from this pattern. Please credit the original design to maintain professional standards within the crafting community.
What should I do if my hat is too small?
If your hat is too small, check your gauge. If your stitches are smaller than specified, try blocking the hat with steam to stretch the fibers or restart with a hook that is 0.5 mm larger.
How do I know if I am counting my stitches correctly?
Count your stitches at the end of every round before you join. If the total does not match the count listed in the instructions, undo your work back to the error rather than skipping a stitch to fix it.
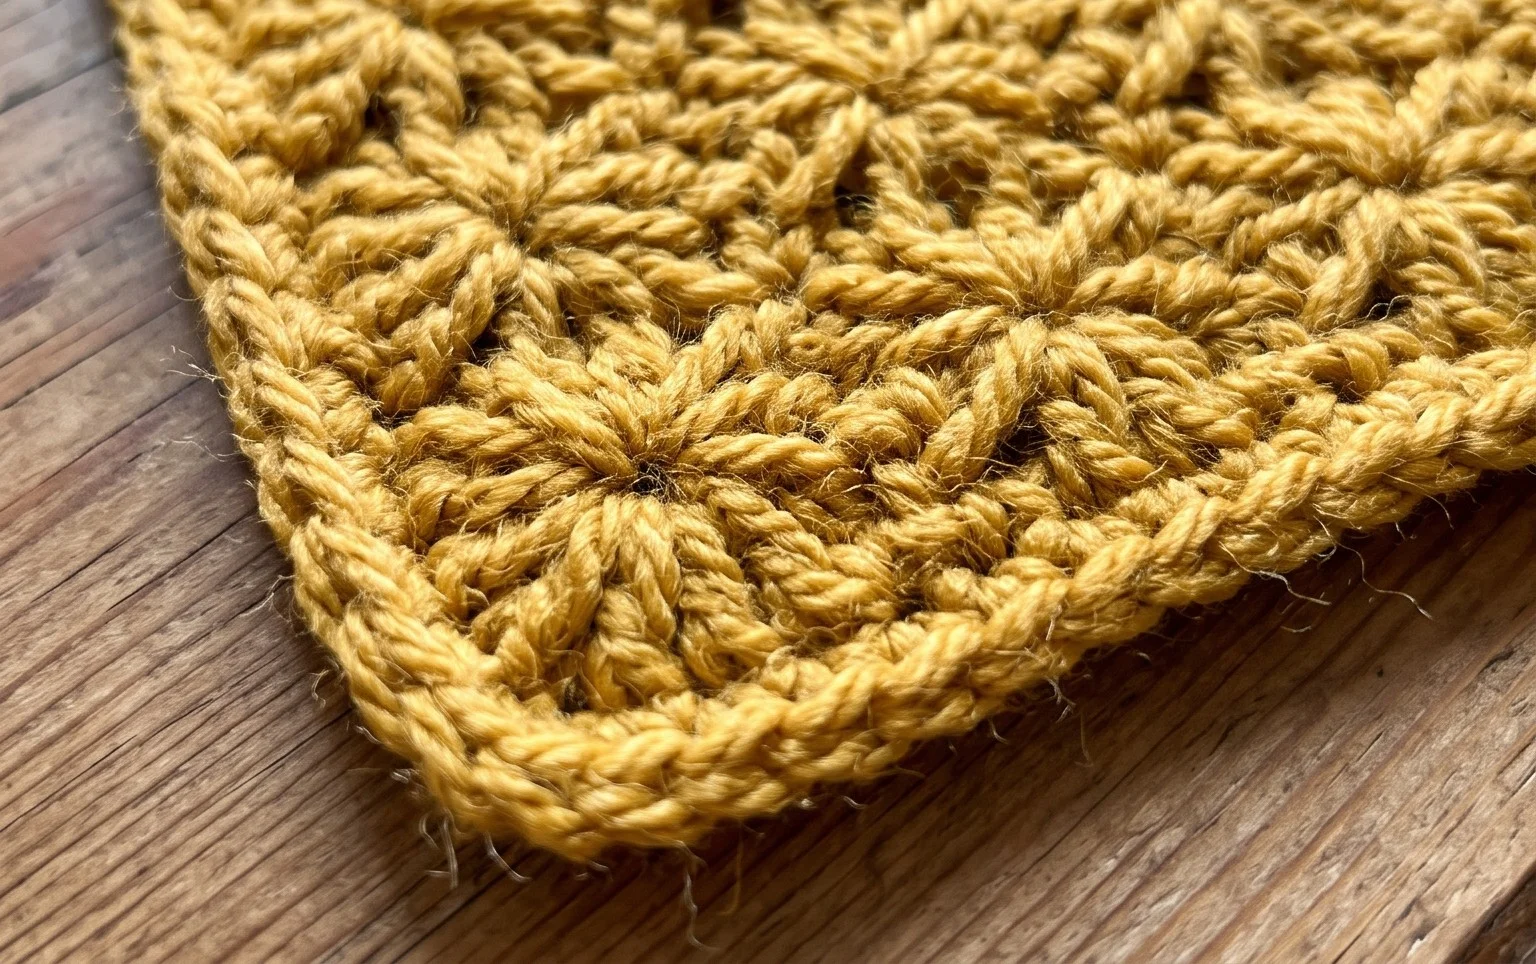
Your finished beanie now displays that beautiful textured pattern, offering a dense warmth that machine-made hats simply cannot match. You might experiment with variegated yarn for your next version to make the cluster shapes stand out even more clearly against the darker background shades. I would love to see how your project turned out, so please share a snapshot of your completed work on your preferred social media platform. Feel free to browse through the rest of the blog for more free patterns to build your skills.