Easy Boho Blanket: Free Crochet Pattern Step-by-Step
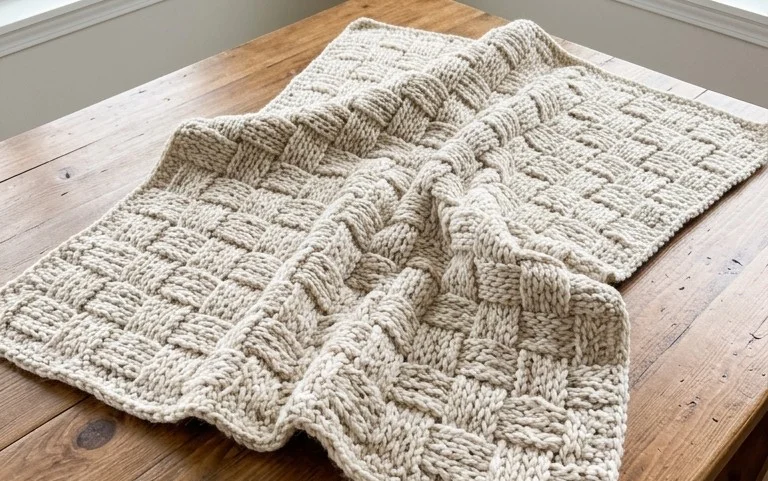
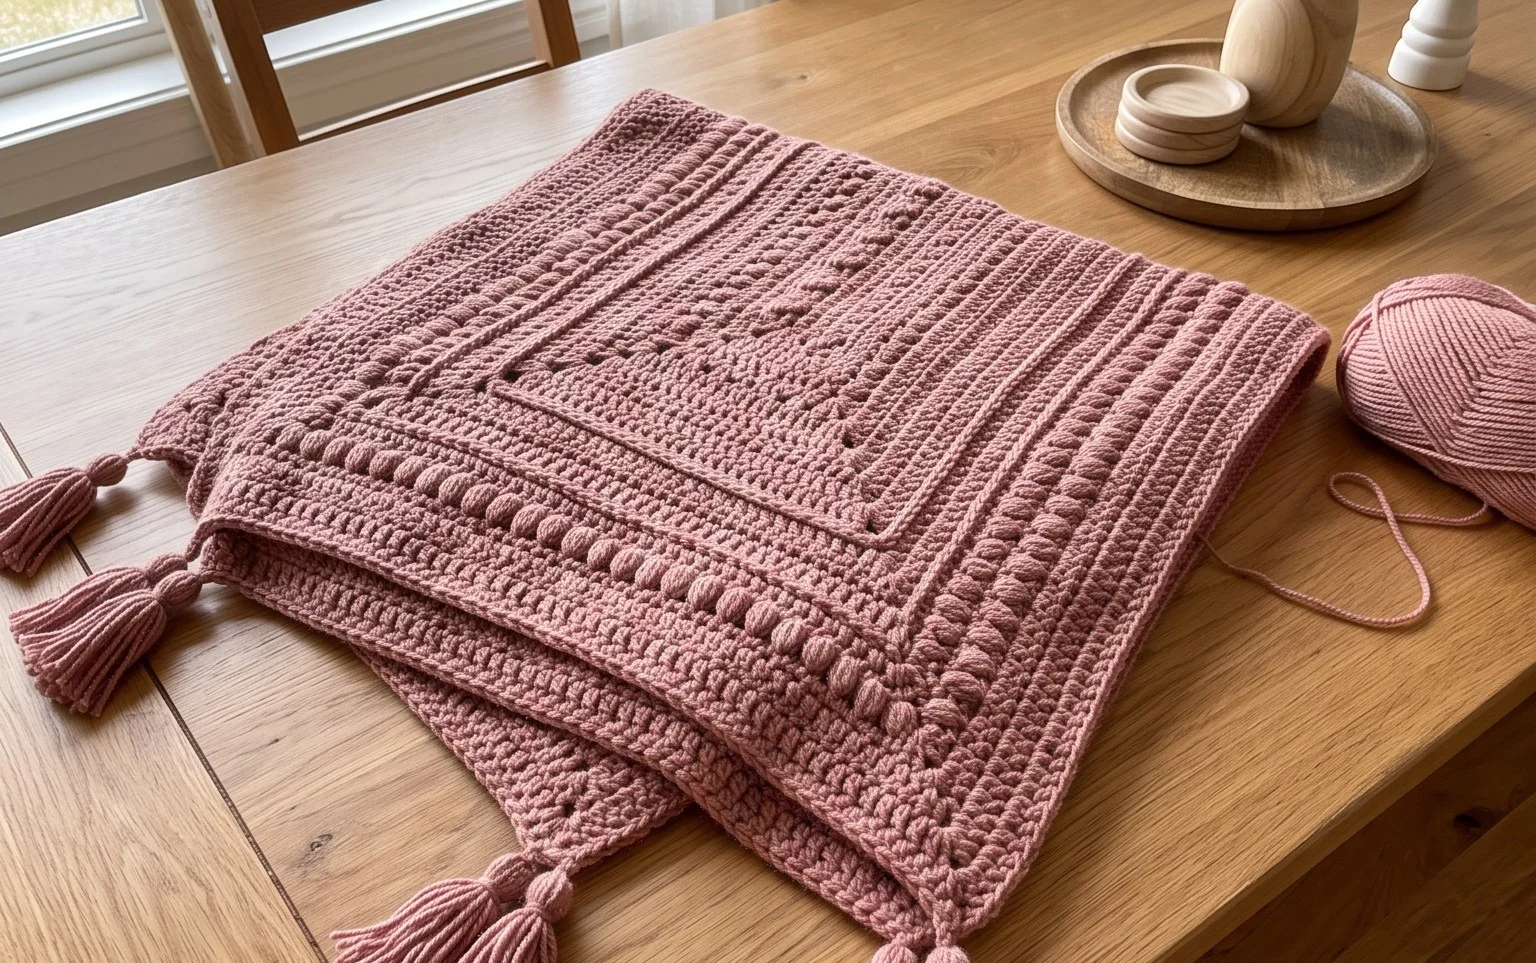
A fringe-edged throw draped over your sofa adds an instant layer of comfort that feels soft and lived-in. This project uses a basic double crochet technique to build a textured fabric that works up quickly, making it a great choice if you want to finish a gift before the weekend starts. You will learn how to handle yarn color changes to create organic stripes while keeping your edges straight and even. It is a relaxing way to spend a few quiet hours. Beginners often find that the repetitive motion helps them master tension without needing complicated stitch counting.
Why You’ll Love This Pattern
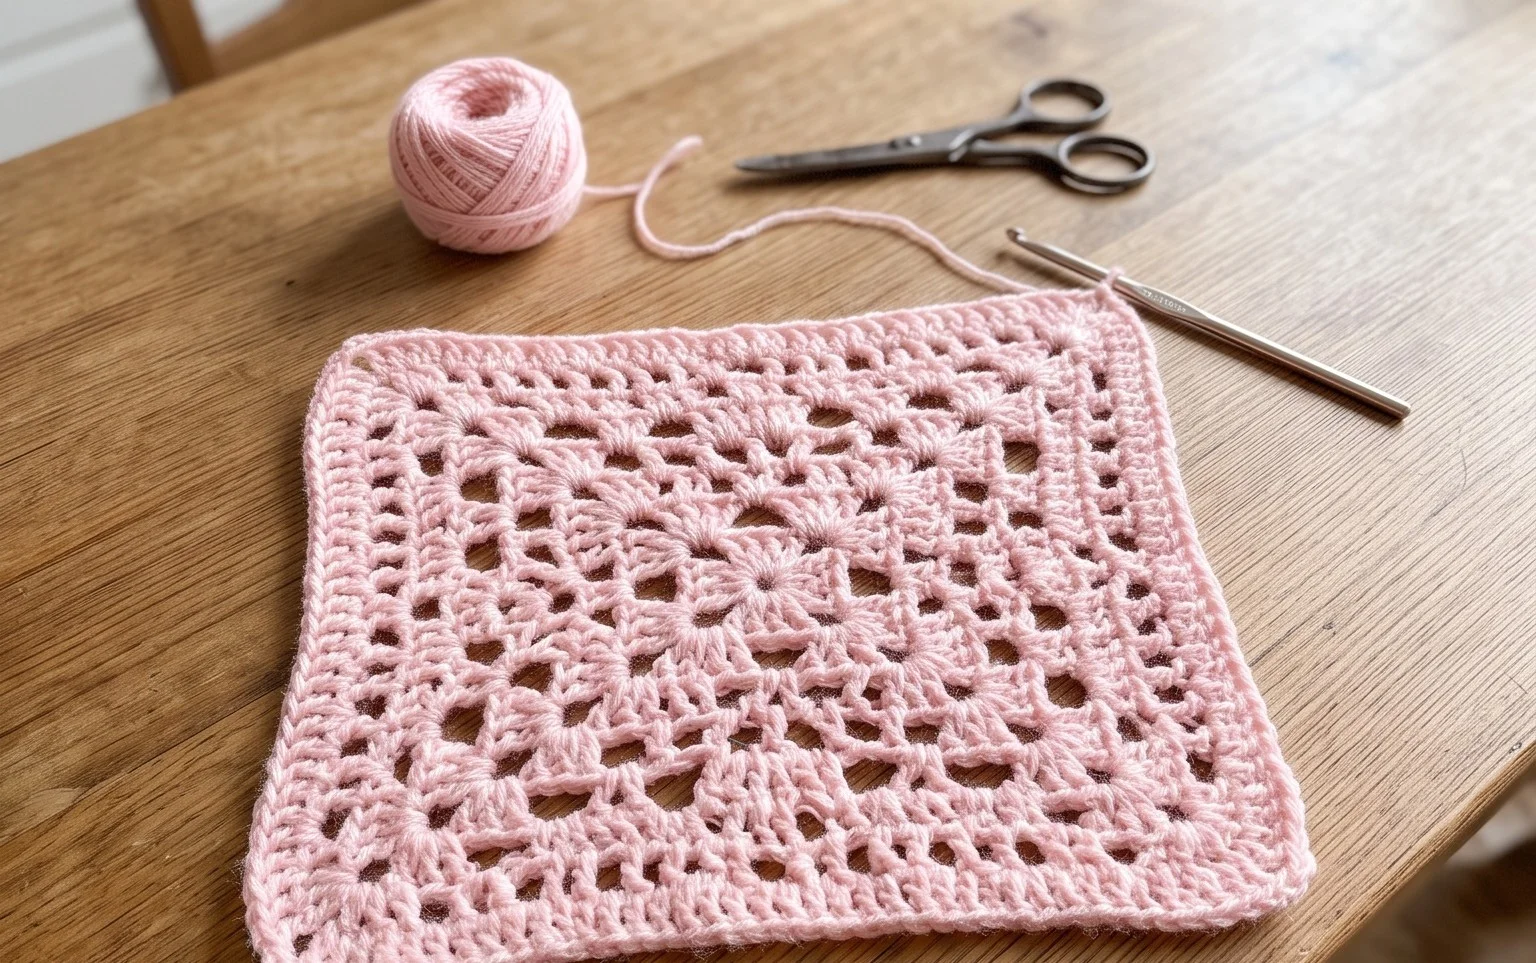
The Classic Crochet Granny Square is the quintessential building block for fiber artists because it balances simplicity with endless versatility. This pattern relies on basic stitches and a repetitive structure that allows you to establish a rhythmic tension, making it ideal for meditative stitching sessions. Because the construction works in outward rounds, you can easily stop at any size to create everything from drink coasters to large-scale heirloom blankets. It is also a highly efficient way to utilize leftover yarn scraps, as each round can be completed in a different color to create a kaleidoscopic effect.
I managed to finish a dozen of these for a bag in one weekend because the repeat is so easy to memorize while watching television.
— Sarah, hobbyist crafter
Pattern Overview & Skill Level
- Skill Level: Beginner
- Approximate Time: 30 to 45 minutes per square
- Construction: Worked in rounds from the center outward
- Finished Dimensions: Approximately 6 inches by 6 inches using worsted weight yarn
Materials & Supplies Needed
- Yarn: Worsted weight (#4), acrylic or wool blend, approximately 20 yards per square.
- Hook Size: 5.0 mm (H-8) crochet hook.
- Notions: Tapestry needle for weaving in ends, sharp scissors.
- Yarn Substitutions: You may use cotton yarn for a stiffer, more defined square, or a lighter DK weight yarn for a smaller, delicate result. Note that changing the weight will require a hook size adjustment to maintain the same drape.
Stitch Guide & Abbreviations (US Terms)
- ch: chain
- sl st: slip stitch
- dc: double crochet
- dc-cluster: 3 dc stitches worked into the same space
- sp: space (the gap created by ch-1 or ch-2)
- MR: magic ring (a method of starting in a circle)
Step-by-Step Pattern Instructions
This square begins with a center circle and expands through four rounds of corner increases.
Rnd 1: Start with a MR. Ch 3 (counts as first dc), work 2 dc into the ring, ch 2. *Work 3 dc into the ring, ch 2. Repeat from * 2 more times. Join with a sl st to the top of the beginning ch-3. (12 dc, 4 ch-2 sps).
Rnd 2: Sl st into the first ch-2 corner sp. Ch 3, 2 dc in same sp, ch 2, 3 dc in same sp (first corner made). *Ch 1, skip 3 dc, (3 dc, ch 2, 3 dc) in next ch-2 corner sp. Repeat from * 2 more times. Ch 1, join with a sl st to the top of the beginning ch-3. (24 dc, 4 ch-1 sps, 4 ch-2 sps).
Rnd 3: Sl st into the first ch-2 corner sp. Ch 3, 2 dc in same sp, ch 2, 3 dc in same sp. *Ch 1, 3 dc in next ch-1 sp, ch 1, (3 dc, ch 2, 3 dc) in next corner sp. Repeat from * 2 more times. Ch 1, 3 dc in final ch-1 sp, ch 1, join with a sl st to the top of the beginning ch-3. (36 dc, 8 ch-1 sps, 4 ch-2 sps).
Rnd 4: Sl st into the first ch-2 corner sp. Ch 3, 2 dc in same sp, ch 2, 3 dc in same sp. *(Ch 1, 3 dc in next ch-1 sp) twice, ch 1, (3 dc, ch 2, 3 dc) in next corner sp. Repeat from * 2 more times. (Ch 1, 3 dc in next ch-1 sp) twice, ch 1, join with a sl st to the top of the beginning ch-3. (48 dc, 12 ch-1 sps, 4 ch-2 sps).
Finishing
Fasten off the yarn, leaving a 6-inch tail. Pull the tail through the final loop to secure the knot. Use your tapestry needle to weave the end back and forth through the back loops of the finished stitches to hide the yarn securely.
Care & Washing Instructions
- Hand wash in cool water with a gentle wool-safe detergent to preserve fiber integrity.
- Lay the square flat on a clean towel, reshaping it into a perfect square while damp.
- Avoid using a tumble dryer, as heat can shrink natural fibers and distort the stitch geometry.
Pro Tips & Common Mistakes to Avoid
Maintaining consistent tension is the secret to a professional-looking square; if your corners feel tight, try going up half a hook size for your chains. Use a removable stitch marker at the beginning of each round to avoid losing your place when working with multiple color changes. Always weave your ends in as you go if you are using multiple colors, as leaving them until the end becomes tedious. If you wish to make the square larger, simply repeat the pattern of working (3 dc, ch 2, 3 dc) in corners and (3 dc in ch-1 sp) along the sides for as many rounds as desired, noting that each round will consume significantly more yarn.
Frequently Asked Questions
Can I substitute acrylic for wool yarn?
Yes, acrylic is a durable and affordable substitute. It behaves similarly to wool in terms of stitch definition, though it will feel different to the touch and cannot be steam-blocked in the same way.
Is this pattern suitable for someone who has never held a hook?
This is a foundational pattern. While it is beginner-friendly, it assumes you have a basic understanding of how to hold the yarn and hook. Practicing a simple chain stitch first will help you gain the coordination needed for this square.
How do I adjust the size of the square?
You can increase the size simply by continuing to add rounds. Each additional round adds 12 dc to your total count and expands the square by approximately one inch, depending on your tension.
Can I sell items made from this pattern?
You may sell items created from this pattern provided you credit the original design. Always check the specific terms included with your pattern source if you obtained it from a third-party marketplace.
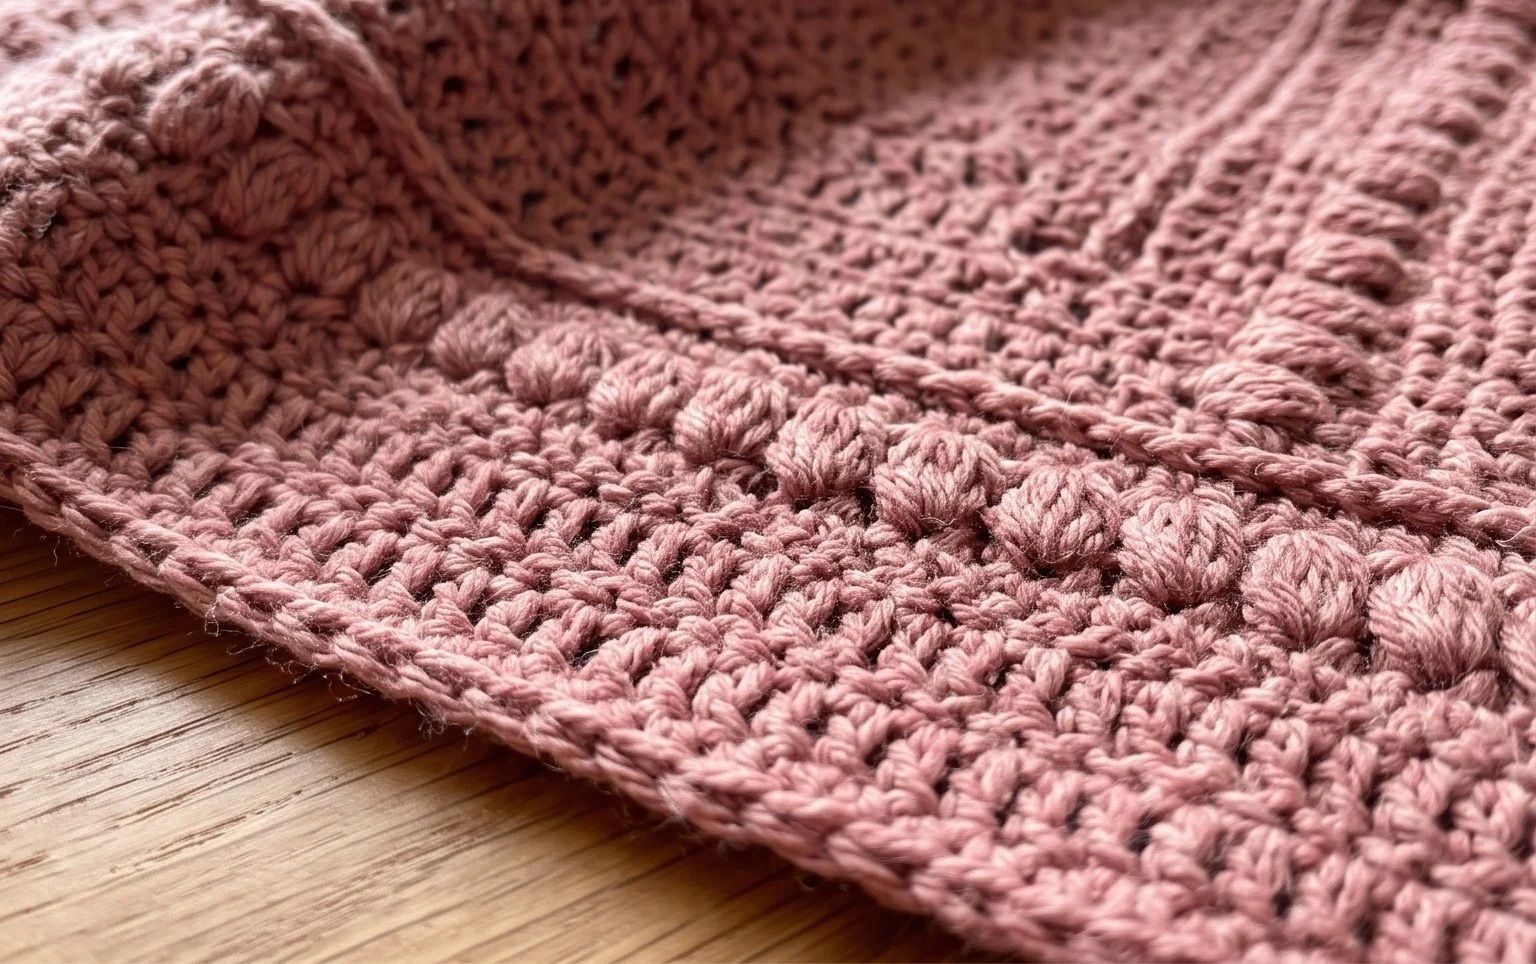
Your finished throw brings a handmade charm to any room, especially when you drape it over a neutral-colored chair. Try swapping the traditional acrylic for a soft organic cotton to give your piece more weight and a cool touch during warmer months. If you enjoyed this project, snap a photo of your work and post it online so others can see your color choices. You can find more free patterns and project ideas updated weekly on the blog, so check back whenever you need a new project to start.