Easy Christmas Tote Bags – Free Crochet Pattern for Beginners
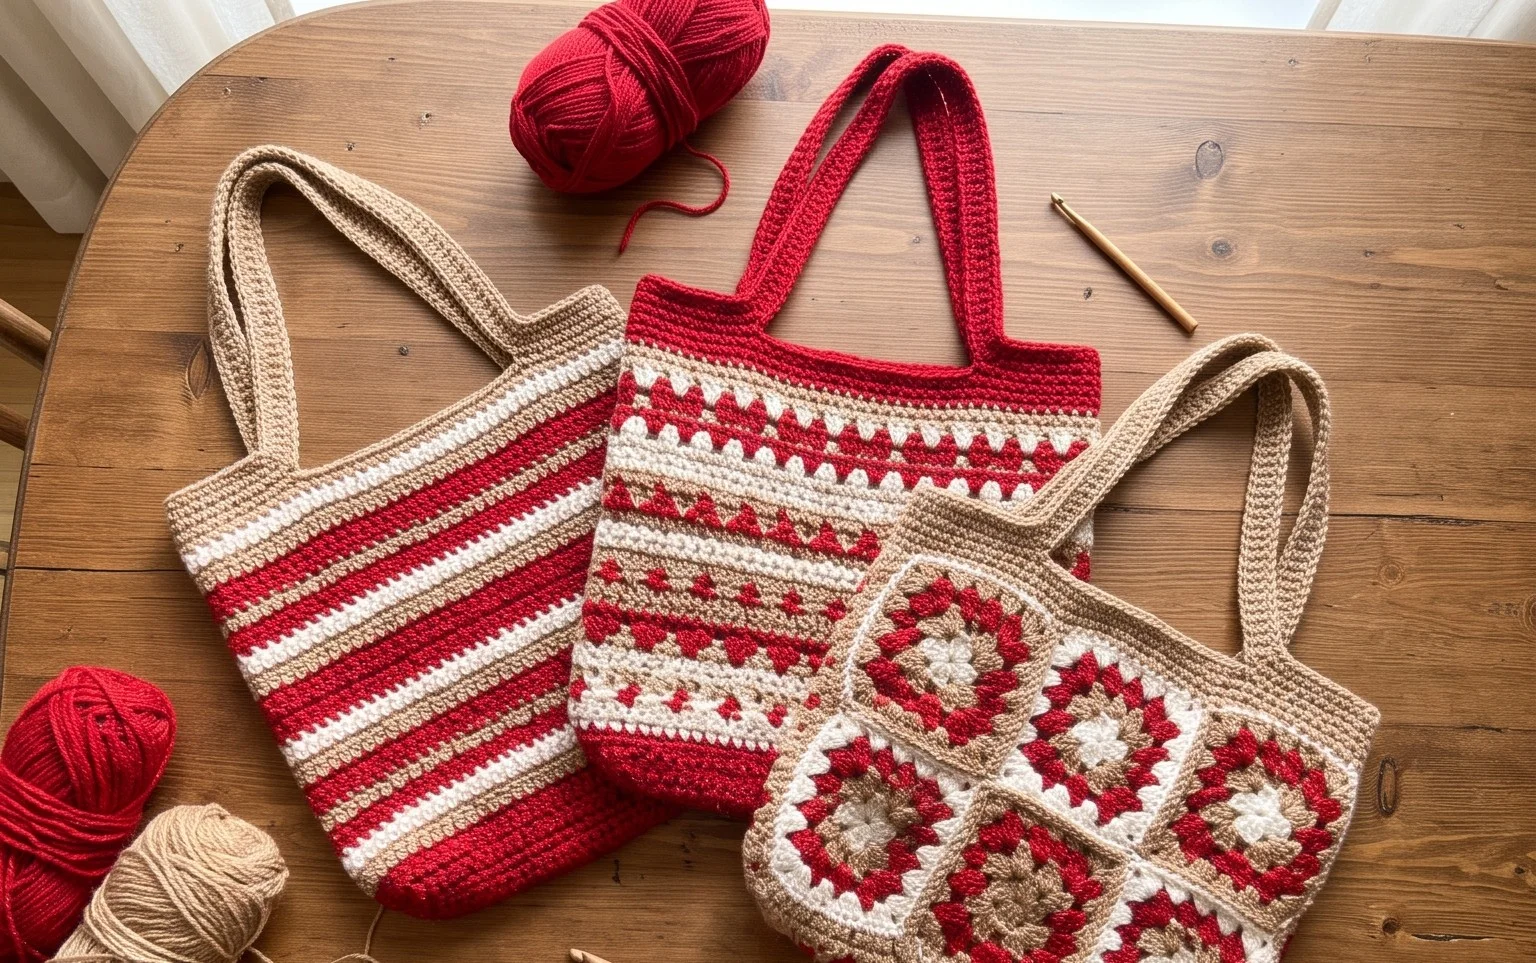
These sturdy holiday bags feature a dense stitch pattern that holds its shape even when filled with heavy gifts or groceries. I designed this project for those long December afternoons when you want something productive to do while relaxing at home. The finished texture feels thick and reliable, providing a handmade charm that store-bought versions simply lack. Beginners will appreciate how the simple base construction builds confidence, while the festive color changes offer a nice way to practice working with multiple strands. You will learn to maintain a consistent gauge and create strong handles that stay secure under weight.
Why You’ll Love This Pattern
This beginner-friendly crochet coaster pattern uses simple single crochet stitches and a tight tension to create a sturdy, heat-resistant surface for your favorite mugs. The project works up in under 30 minutes, making it an ideal choice for using up small amounts of leftover cotton yarn from larger projects. Because it uses a basic circle construction, it is a low-stress project that helps you master keeping your edges flat and consistent. It also makes for a thoughtful, handmade gift for housewarmings or coffee lovers when tied together in a stack with a bit of twine.
I managed to finish a full set of four coasters in one afternoon while watching a movie. The instructions were very clear and my stitches ended up perfectly flat without any curling.
— Sarah, craft hobbyist
Pattern Overview & Skill Level
- Skill Level: Beginner
- Approximate Time: 20-30 minutes per coaster
- Construction: Worked in continuous rounds starting from a magic ring, increasing in multiples of 6 to maintain a flat circle.
- Finished Dimensions: Approximately 4 inches (10 cm) in diameter.
Materials & Supplies Needed
- Yarn: Worsted weight (#4) 100% cotton yarn, approximately 15-20 yards per coaster. Cotton is required for heat resistance and durability.
- Hook Size: 5.0 mm (H-8) crochet hook.
- Notions: Tapestry needle for weaving in ends, a locking stitch marker to track the start of rounds.
- Yarn Substitutions: You may use acrylic yarn, but please note that it will melt if placed in contact with extremely hot mugs. Cotton is the only recommended fiber for this specific household item.
Stitch Guide & Abbreviations (US Terms)
- MR: Magic Ring (a way to start a round by crocheting over a loop).
- st(s): Stitch(es).
- ch: Chain.
- sc: Single crochet (insert hook, yarn over, pull through, yarn over, pull through two loops).
- inc: Increase (work 2 sc into the same stitch).
- sl st: Slip stitch.
- FO: Fasten off.
Step-by-Step Pattern Instructions
Coaster Body
- Rnd 1: Start with a MR. Work 6 sc into the ring. Tighten the ring to close the center. (6 sts)
- Rnd 2: Work 2 sc in each st around. (12 sts)
- Rnd 3: 1 sc in next st, 2 sc in next st. Repeat from * to * around. (18 sts)
- Rnd 4: 1 sc in next 2 sts, 2 sc in next st. Repeat from * to * around. (24 sts)
- Rnd 5: 1 sc in next 3 sts, 2 sc in next st. Repeat from * to * around. (30 sts)
- Rnd 6: 1 sc in next 4 sts, 2 sc in next st. Repeat from * to * around. (36 sts)
- Rnd 7: 1 sc in next 5 sts, 2 sc in next st. Repeat from * to * around. (42 sts)
- Rnd 8: Work 1 sc in each st around. (42 sts)
- Finishing: Join with a sl st to the first sc of the round. Cut the yarn, leaving a 6-inch tail. Pull the tail through the final loop and pull tight.
Assembly & Finishing
Thread your tapestry needle with the tail from the center ring and weave it securely into the back of the first round to ensure it does not unravel. Repeat this process with the tail from the final round. Block the coaster by lightly steaming it or pressing it under a heavy book for one hour to ensure it lies perfectly flat on your table.
Care & Washing Instructions
- Machine wash in a mesh garment bag on a gentle cycle using cold water to prevent color bleeding or shrinking.
- Lay the coaster flat on a towel immediately after washing, smoothing it into a perfect circle, and allow it to air dry completely.
- Avoid using fabric softener, as it reduces the absorbency of the cotton fibers and may leave a residue on your glassware.
Pro Tips & Common Mistakes to Avoid
Maintain consistent tension throughout your work. If your circles look wavy, you are likely working your stitches too loosely; try dropping down to a 4.5 mm hook. Use a stitch marker on the first stitch of every round so you do not lose count during the increase steps. When weaving in your ends, ensure you go through the back loops only to keep the front of the coaster looking clean and professional. To adjust the size, simply add more rounds using the same increase pattern; however, keep in mind that larger coasters will consume significantly more yarn and may not sit as flat without professional blocking.
Frequently Asked Questions
Can I use a different yarn weight for this pattern?
Yes, but changing the yarn weight will alter the size of the final coaster. Using a finer yarn like DK weight will result in a smaller coaster, while using bulky weight yarn will create a larger one. You may need to add or remove rounds to achieve your desired diameter.
Why is my coaster curling up like a bowl?
Curling usually happens if you are not adding enough increases. If your project starts to look like a bowl, you likely missed an increase stitch in your count. Conversely, if the edges look wavy, you have too many stitches and should check your math for that round.
Is this pattern suitable for complete beginners?
Yes, this is an excellent starter project. It introduces the magic ring and basic increases in a small, manageable format that allows you to see the growth of your stitches clearly without the complexity of a larger garment.
Am I allowed to sell coasters made from this pattern?
You are welcome to sell physical items made using this pattern at local markets or online. Please credit the design to this tutorial, but do not sell or distribute the pattern instructions themselves as your own work.
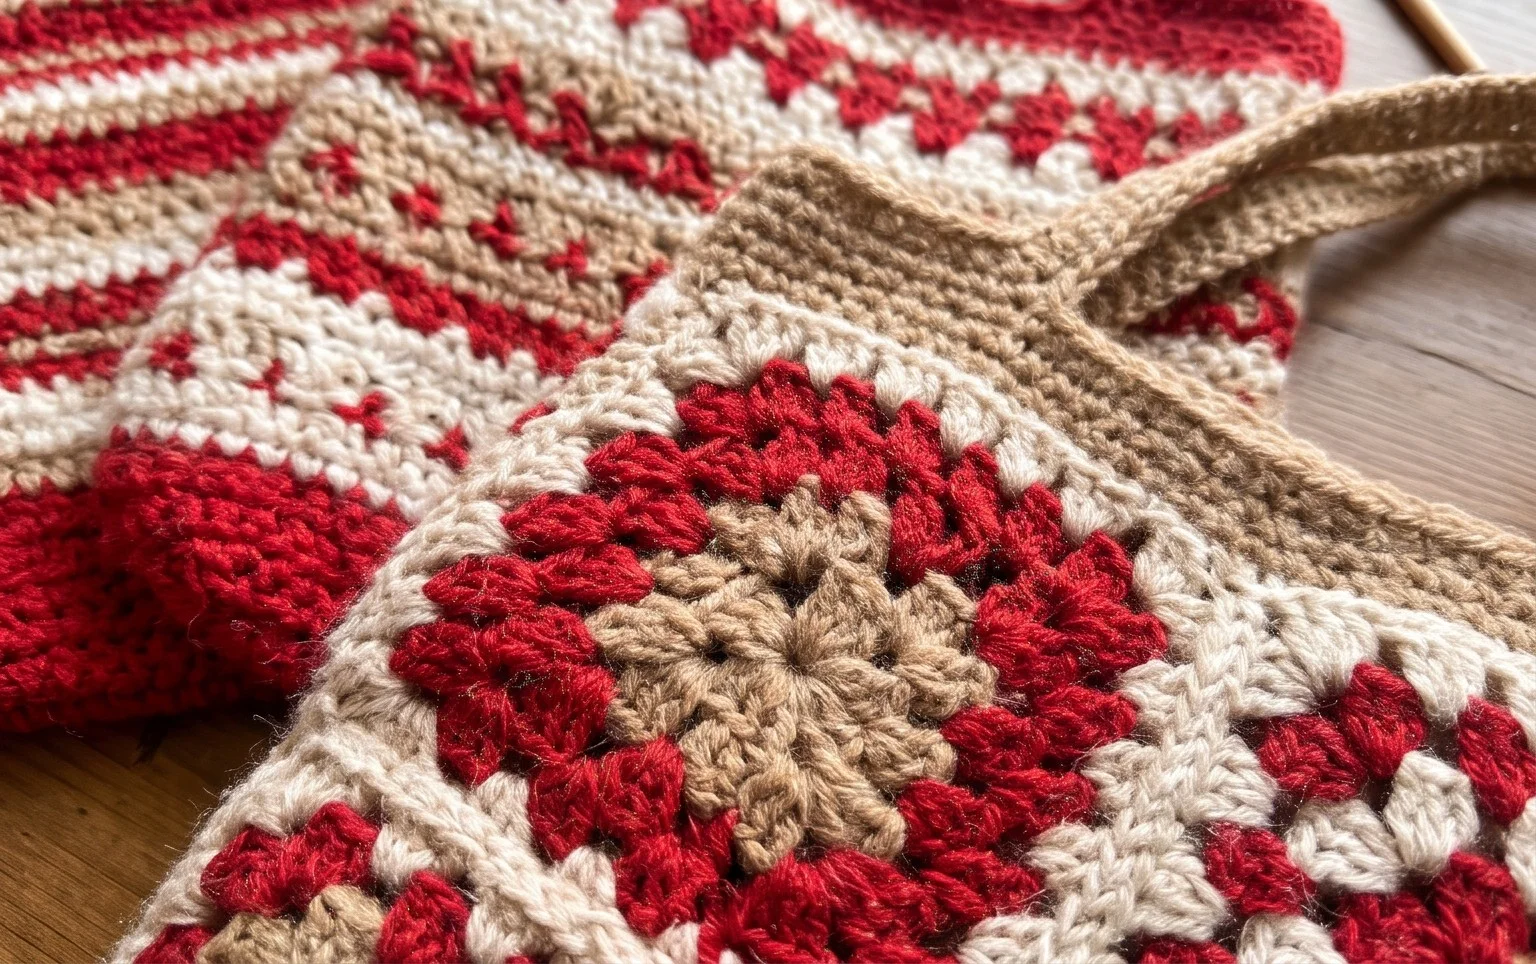
Holding a finished holiday bag filled with treats makes all the hours spent counting stitches worthwhile. You can adapt the size by adding extra rounds to the base if you need a larger carrier for bulky items. Try alternating between dark green and deep red wool for a classic look or stick to neutrals for a modern aesthetic that works all year. Please tag your finished photos on social media so others can see your color choices. Browse the rest of my site for more free patterns to fill your handmade wardrobe.