Easy Crochet Plush Teddy Bear Free Pattern for Beginners
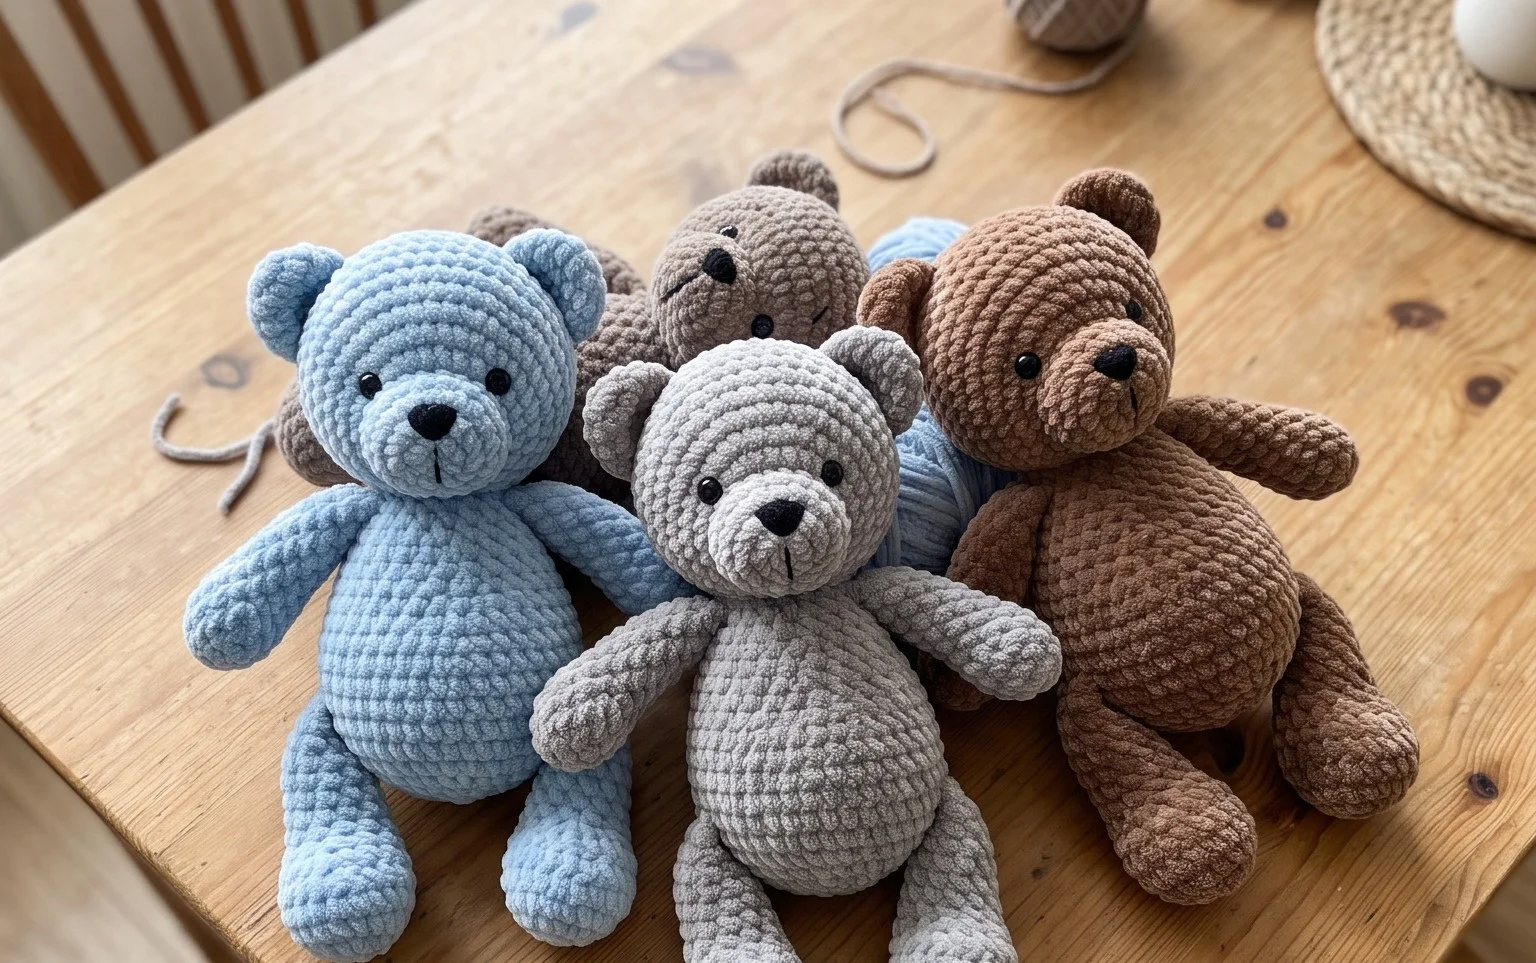
This tiny teddy bear feels soft and dense in the hand, making it a comforting companion for a child or a charming piece of decor for your desk. Creating this small stuffed animal is a rewarding experience because you see the shape emerge quickly as you build the rounds. The project relies on the basic single crochet stitch, which makes it accessible for anyone new to working in three-dimensional shapes. You will learn how to manage consistent tension and execute clean increases and decreases to form the head and body. It turns leftover yarn scraps into a thoughtful, handmade gift in just two hours.
Why You Will Love This Pattern
This beginner-friendly project works up quickly using basic single crochet stitches, making it a perfect introduction to three-dimensional amigurumi construction. You only need a small amount of worsted weight yarn, which is ideal for using up those leftover bits from larger blankets or garment projects. The finished toy has a sturdy, dense fabric that holds its shape well even after hours of play. Because the construction relies on simple increases and decreases in a continuous spiral, you do not need to worry about complex counting or joining rows. It is a reliable, stress-free pattern that produces consistent, professional-looking results every single time.
I finished this little project in just under two hours and the instructions were very easy to follow for a beginner like me.
— Sarah, hobbyist crafter
Pattern Overview & Skill Level
- Skill Level: Beginner
- Approximate Time: 1.5 to 2 hours
- Construction: Worked in continuous rounds from the bottom up, with stuffing inserted before closing the final opening.
- Finished Dimensions: Approximately 4 inches tall and 3 inches wide.
Materials & Supplies Needed
- Yarn: Worsted weight #4 acrylic or cotton yarn. You will need approximately 30 yards of your main color.
- Hook Size: 4.0 mm / G-6 crochet hook.
- Notions: Polyester fiberfill stuffing, one tapestry needle for weaving ends, two 8mm safety eyes, and one stitch marker.
- Safe yarn substitutions: You may use DK weight yarn with a 3.5 mm hook for a smaller, more delicate toy, though this will decrease the finished dimensions. Alternatively, a chunky weight yarn will create a larger toy, but ensure you increase your hook size accordingly to maintain a tight gauge that prevents stuffing from showing through.
Stitch Guide & Abbreviations (US Terms)
- ch: Chain
- st/sts: Stitch/stitches
- sc: Single crochet
- inc: Increase (work 2 sc in the same stitch)
- dec: Decrease (sc 2 together, typically using the invisible decrease method by picking up only the front loops of the next two stitches)
- MR: Magic ring
- sl st: Slip stitch
- FO: Fasten off
Step-by-Step Pattern Instructions
Body and Head
- Rnd 1: Start 6 sc in a MR (6 sts).
- Rnd 2: Work 2 sc in each st around (12 sts).
- Rnd 3: [1 sc, inc] repeat 6 times (18 sts).
- Rnd 4: [2 sc, inc] repeat 6 times (24 sts).
- Rnd 5: [3 sc, inc] repeat 6 times (30 sts).
- Rnds 6–12: Sc in each st around (30 sts).
- Rnd 13: [3 sc, dec] repeat 6 times (24 sts).
- Rnd 14: [2 sc, dec] repeat 6 times (18 sts).
- Note: Insert safety eyes between rounds 9 and 10, spaced 4 stitches apart. Begin stuffing the body firmly.
- Rnd 15: [1 sc, dec] repeat 6 times (12 sts).
- Rnd 16: [dec] repeat 6 times (6 sts).
Finishing
Cut the yarn, leaving a 6-inch tail. Thread the tail onto a tapestry needle. Weave the needle through the front loops of the remaining 6 stitches and pull tight to close the opening. Secure the knot by pulling the yarn through the center of the closure and trimming the excess thread hidden inside the body.
Care & Washing Instructions
- Hand wash the item in cool water using a mild wool-safe detergent to protect the fiber structure.
- Lay the piece flat on a clean towel in a shaded area to air dry, turning it occasionally to ensure even moisture evaporation.
- Avoid using a tumble dryer or harsh bleach, as these can melt synthetic fibers or cause the polyester stuffing to clump unevenly.
Pro Tips & Common Mistakes to Avoid
Maintain a tight, consistent tension throughout the project; if your stitches are too loose, the stuffing will peek through the gaps. Always place a stitch marker in the first stitch of every round to keep track of your progress without having to restart your count. Weave your yarn ends into the interior of the toy rather than on the surface to ensure the finish remains clean and professional. If you want to increase the size of the project, add more rounds of single crochet to the body section before beginning your decreases, but keep in mind that this will require more yarn than the original requirements.
Frequently Asked Questions
Can I use cotton yarn instead of acrylic?
Yes, cotton yarn works beautifully for this pattern and provides a clean, matte texture that looks very polished. Be aware that cotton has less stretch than acrylic, so keep your tension consistent to ensure the stitches remain comfortable to work.
How do I adjust the size of this toy?
To make the item larger, use a heavier weight yarn and a corresponding larger hook size. You can also add more increase rounds at the beginning, but remember that every increase round you add will require you to maintain those extra stitches for several rows before starting your decreases.
Are the safety eyes safe for small children?
Safety eyes are designed to be secure, but they can pose a choking hazard for infants and toddlers. If you are gifting this to a small child, embroider the eyes with black yarn instead to ensure there are no small parts that could come loose.
Am I allowed to sell the finished items?
You are welcome to sell finished items made from this pattern, provided you credit the designer in your shop listing. Always include your own photographs rather than using the original tutorial imagery to maintain transparency with your customers.
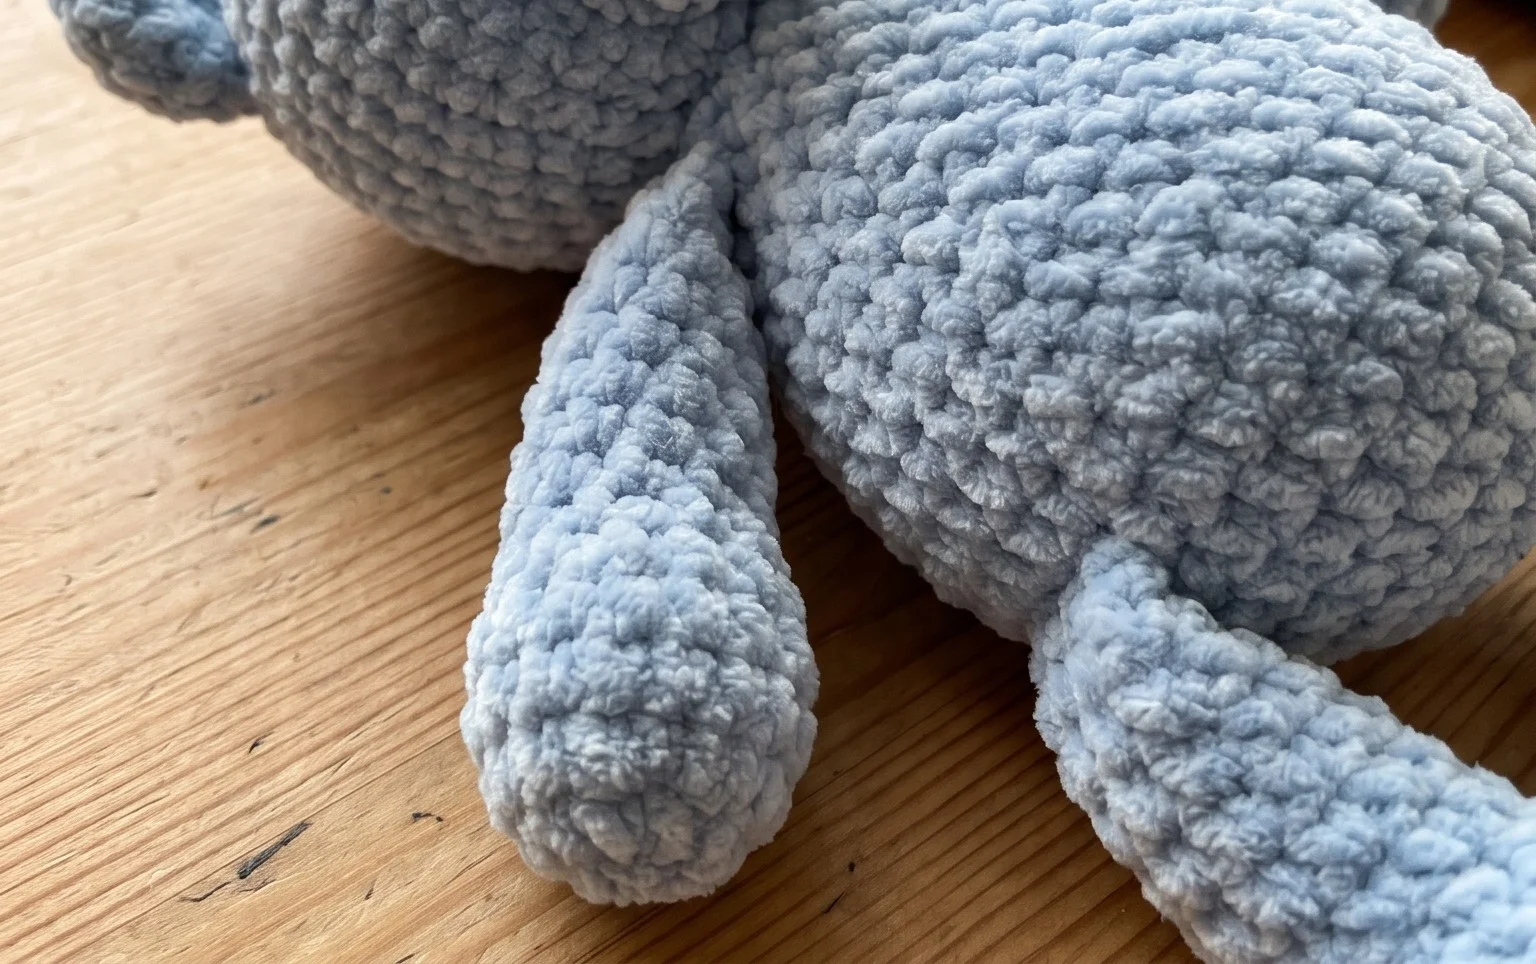
Your finished bear is a tidy example of how simple loops and stitches come together to form something cute and sturdy. If you want to experiment, try using a fuzzy chenille yarn to create a larger, softer version of the toy that feels like velvet to the touch. Posting a photo of your finished work online helps others see how different color choices change the final look of the project. Browse the rest of the blog for more patterns that use the same fundamental techniques to grow your collection of handmade goods.