Easy Fluffy Pom Pom Crochet Pattern: Step-by-Step Guide
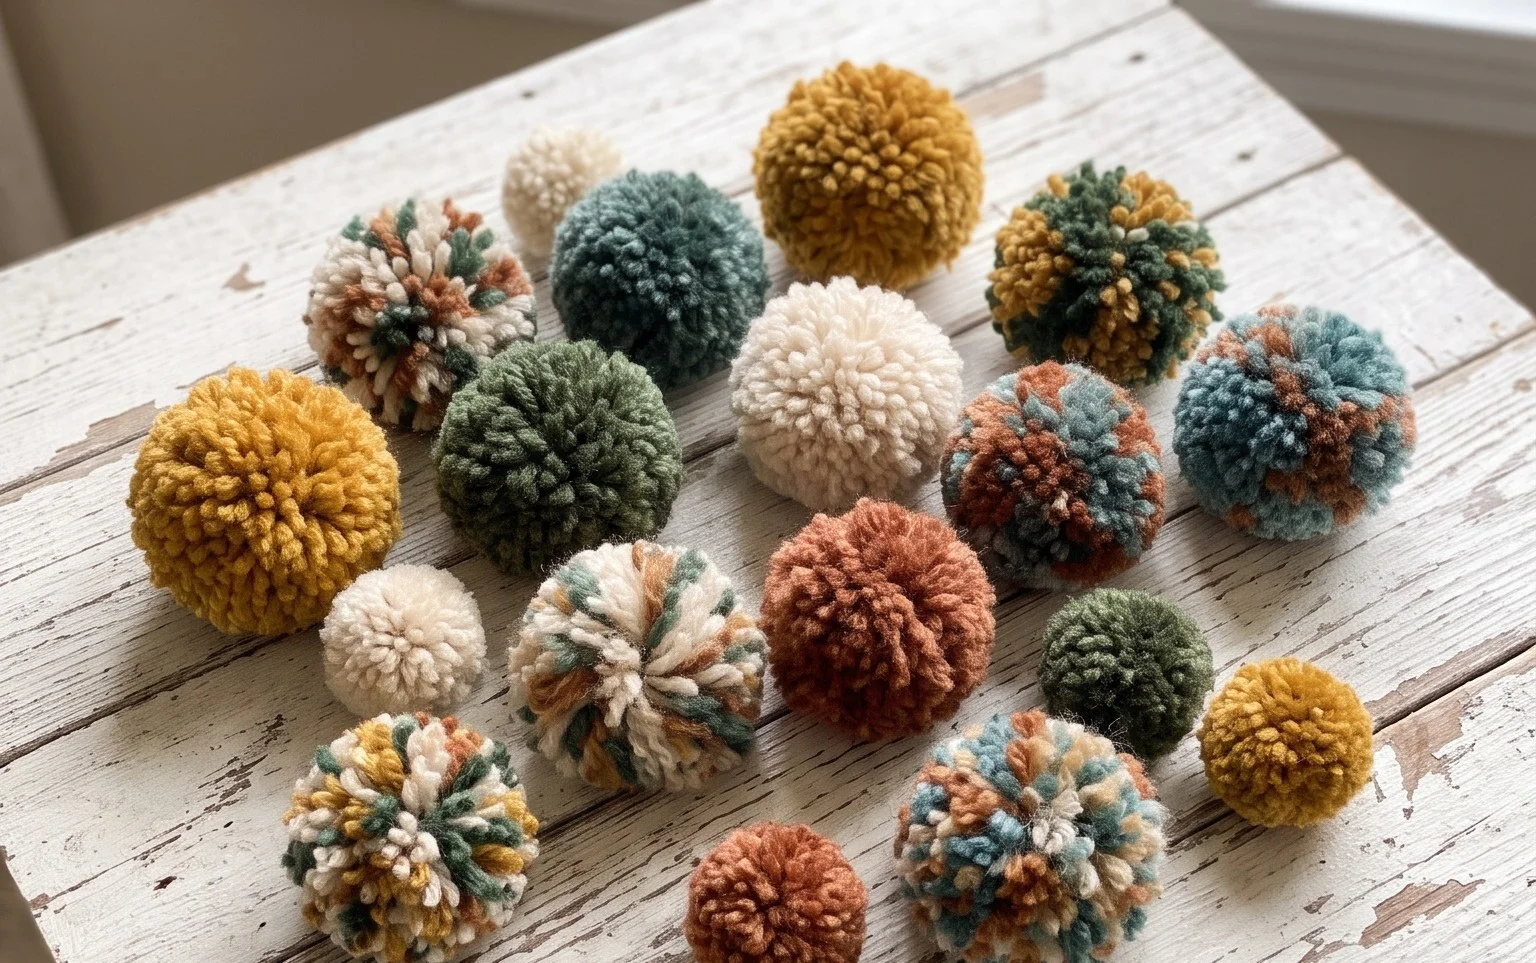
Soft, squishy rounds of yarn add instant character to everything from handmade hats to cozy nursery mobiles. These handmade spheres feel substantial in your hand and hold their shape beautifully because they are worked in a tight, continuous spiral. They provide a quick win for anyone with a growing stash of leftover yarn and a spare hour. You will learn how to maintain consistent tension and manage simple increases to get a rounded, professional finish without any gaps in your stitches. This project turns simple yarn into a durable piece of decor that lasts for years of everyday use.
Why Crocheters Love It
This beginner-friendly project works up in a single evening, making it a favorite for last-minute gifts or stash-busting. Because it relies on basic single crochet stitches worked in continuous rounds, you can focus on maintaining even tension without complicated counting. The spherical shape is sturdy and holds its form well, even with frequent handling. Many makers choose this pattern when teaching new crocheters how to manage stitch markers and increase rounds for 3D objects.
I finished this in under two hours while watching a movie. The instructions were easy to follow and the final result looks exactly like the photos.
— Sarah, amigurumi enthusiast
Pattern Overview & Skill Level
- Skill Level: Beginner
- Approximate Time: 1.5 to 2 hours
- Construction: 3D amigurumi style, worked in continuous spirals
- Finished Dimensions & Sizing: 3 inches in diameter
Materials & Supplies Needed
- Yarn: Worsted weight (#4), acrylic or cotton blend, approximately 40 yards.
- Hook Size: 3.5 mm / E-4.
- Notions: Polyester fiberfill stuffing, 8mm safety eyes, yarn needle, locking stitch marker.
- Safe yarn substitutions: You may use DK weight yarn with a 3.0 mm hook for a smaller size, or chunky weight yarn with a 5.0 mm hook for a larger version. Changing yarn weight will require adjusting the stuffing amount to maintain the correct shape.
Stitch Guide & Abbreviations (US Terms)
- MR = Magic Ring: A technique to start rounds by crocheting into an adjustable loop.
- ch = chain
- sc = single crochet
- inc = increase (work 2 sc in the same stitch)
- dec = decrease (insert hook in front loop of next two stitches, yarn over, pull through, yarn over and pull through both loops on hook)
- sl st = slip stitch
- st(s) = stitch(es)
Step-by-Step Pattern Instructions
Main Body
- Rnd 1: Start 6 sc in a MR (6 sts).
- Rnd 2: 2 sc in each st around (12 sts).
- Rnd 3: [1 sc, inc] repeat 6 times (18 sts).
- Rnd 4: [2 sc, inc] repeat 6 times (24 sts).
- Rnd 5: [3 sc, inc] repeat 6 times (30 sts).
- Rnds 6–10: Sc in each st around (30 sts).
- Rnd 11: [3 sc, dec] repeat 6 times (24 sts).
- Rnd 12: [2 sc, dec] repeat 6 times (18 sts).
At this point, attach the safety eyes between Rnd 7 and Rnd 8, spacing them about 4 stitches apart. Begin adding fiberfill stuffing until the piece is firm but not distorted.
Closing
- Rnd 13: [1 sc, dec] repeat 6 times (12 sts).
- Rnd 14: [dec] repeat 6 times (6 sts).
Cut the yarn leaving a 6-inch tail. Use your yarn needle to weave the tail through the front loops of the remaining 6 stitches and pull tight to close the hole. Secure the yarn and hide the end inside the body.
Care & Washing Instructions
- Hand wash in cool water using a mild detergent to prevent the stuffing from clumping.
- Lay the item flat on a clean towel and reshape it while damp to ensure it dries symmetrically.
- Do not iron or bleach, as this will damage the acrylic or cotton fibers and melt the plastic safety eyes.
Pro Tips & Common Mistakes to Avoid
- Tension Consistency: If your stitches have gaps where the stuffing shows through, try going down a half-size in hook diameter to create a tighter fabric.
- Tracking Rounds: Always place a stitch marker in the first stitch of every round. Since you are working in a continuous spiral, it is easy to lose your place without a marker.
- Weaving Ends: When finishing the final round, weave your yarn needle through the back loops of the last few stitches to create an invisible, secure closure that blends with the fabric.
- Sizing Adjustments: To make the item larger, continue adding increase rounds (e.g., [4 sc, inc], [5 sc, inc]) before working the straight rounds. Remember that increasing the size will significantly increase the total yardage needed.
Frequently Asked Questions
Can I substitute the safety eyes with embroidery?
Yes, use black embroidery floss or yarn to sew two French knots or small “X” stitches in the same position if the item is intended for children under three years old.
Why does my work look slanted?
Continuous rounds naturally create a slight spiral effect. If the slant is severe, focus on tightening your tension on the first stitch of each round to keep the stitches aligned vertically.
How much fiberfill do I need for this pattern?
You will need approximately one handful of polyester fiberfill. Avoid overstuffing, as it will cause the stitches to stretch and reveal the gaps between them.
Am I allowed to sell items made from this pattern?
You are welcome to sell finished products created from this design. Please credit the pattern designer in your product listings to help others find the source.
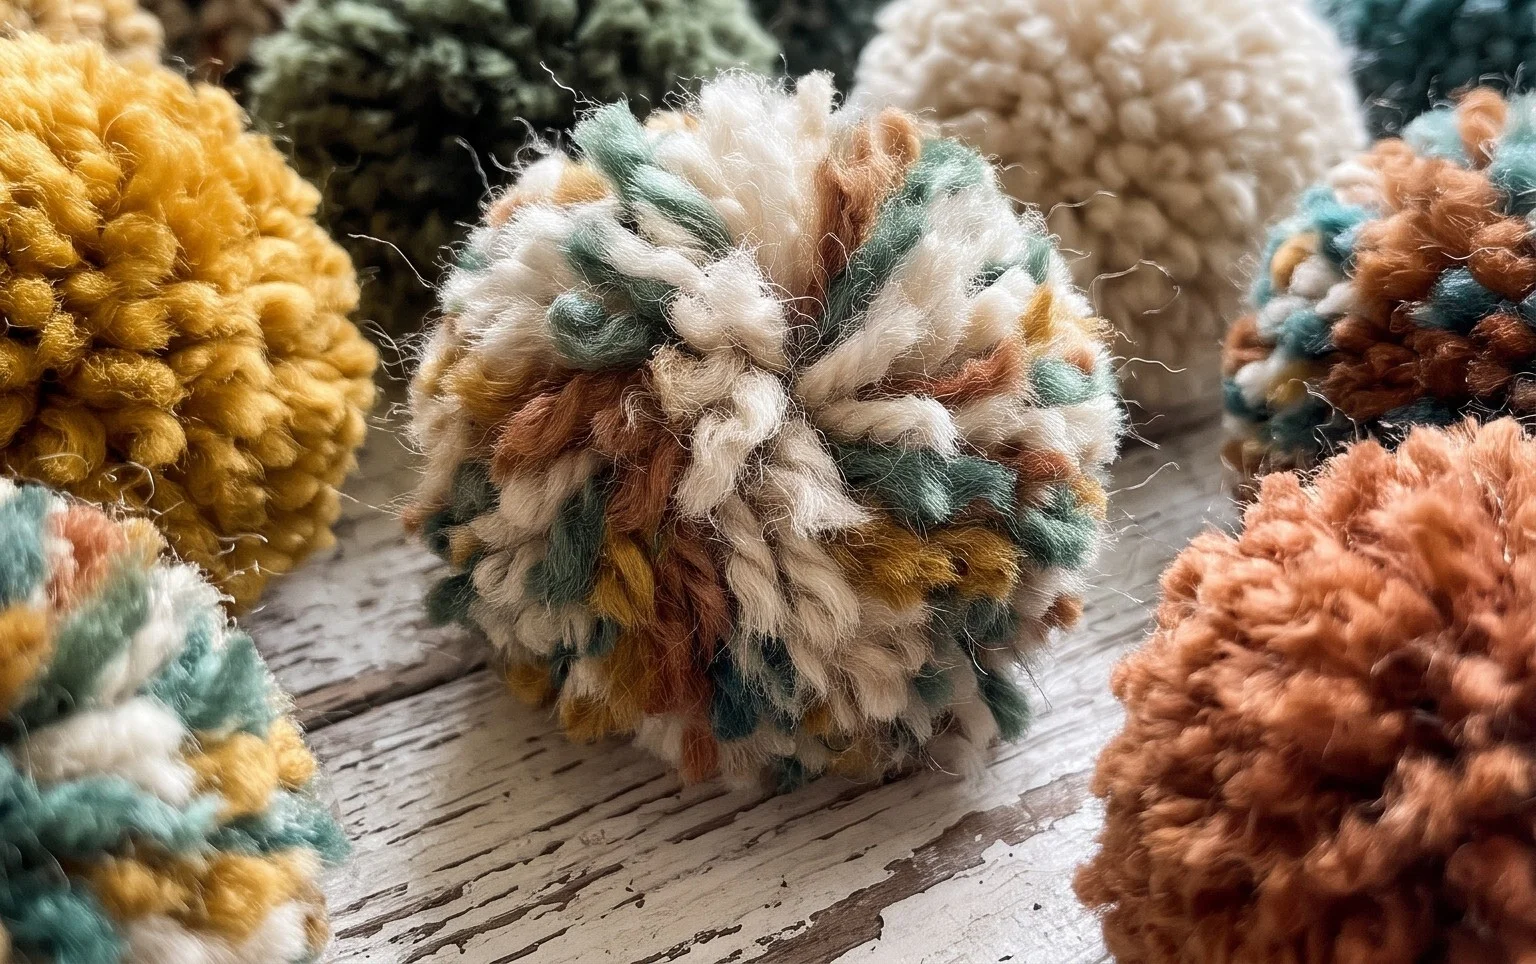
Your finished project now sits ready to brighten up your desk, gift box, or winter scarf. You might enjoy experimenting with variegated wool or metallic thread for a completely different aesthetic in your next batch. I love seeing the colors you choose, so please upload a photo of your work to your favorite social media site to share the inspiration. Head back to the main archives for more free patterns that use similar basic stitches. Happy crafting and I cannot wait to see what you create next.